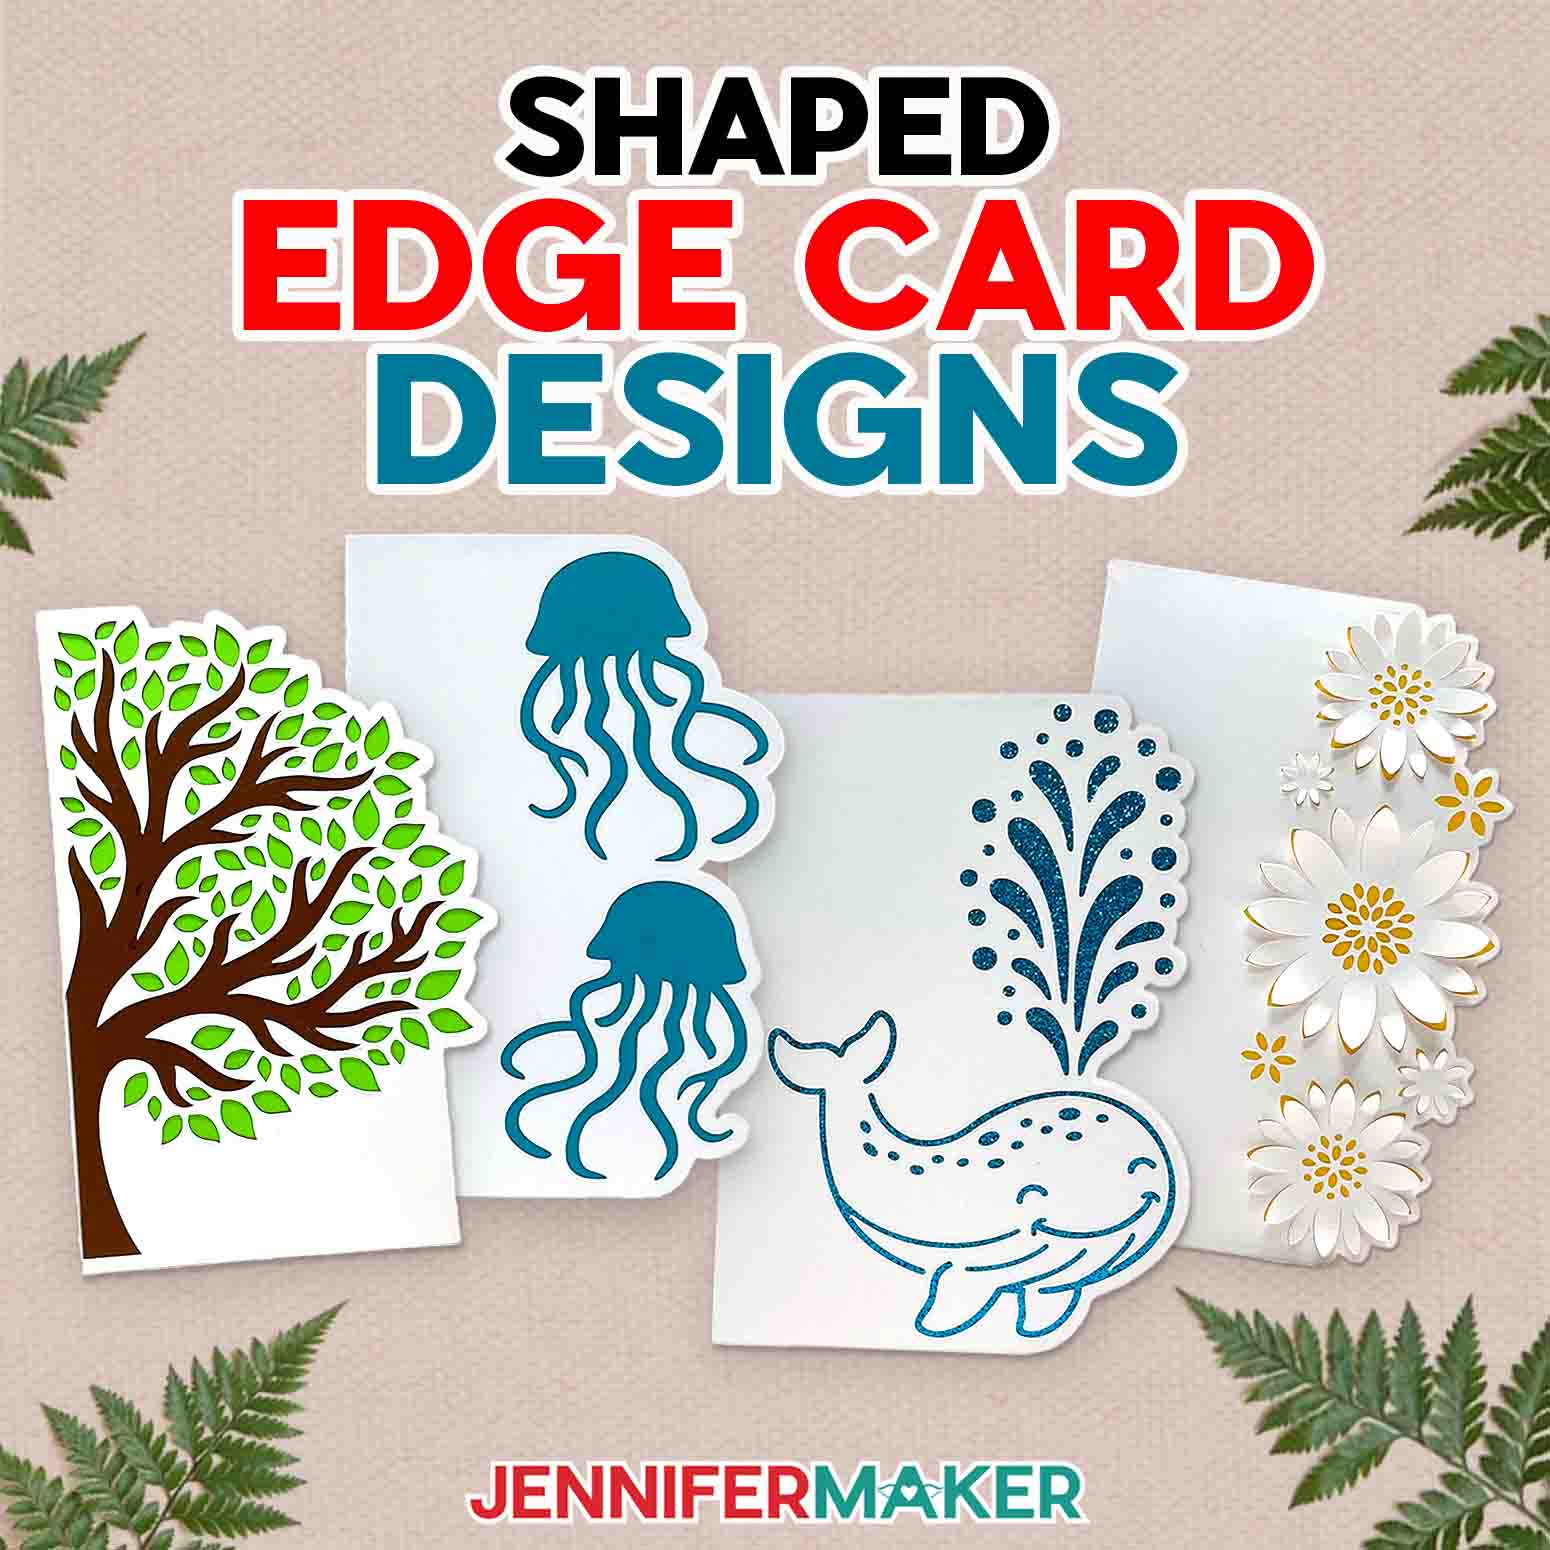
Everyone loves receiving homemade cards. There’s just something so sweet and personal about being gifted a card (or another craft) that someone made just for you! Cards are an inexpensive way to send a letter, well wishes, congratulations, or another special message to someone you care about. My shaped edge cards have been a hit with their fun and fancy edges, and it’s been a delight to see the beautiful ways you make them your own! Now I’m back with three new designs of shaped edge cards, plus an easy tutorial to help you make some extra special cards of your own!
Want to save this project? Enter your email below and we’ll send the project straight to your inbox.Shaped edge cards are fun and unique because they have shapes that follow the cutouts on the right edge of the card base when it’s closed. I love how the shape runs along the edge of your card, adding some cool flair to what would normally be a plain rectangle!

This time, though, we’ll take it up a notch by showing you how to create beautiful three-dimensional effects with your greeting cards. Plus, how to use more than one inner liner to create amazing layered cards your family and friends are going to love.
I’ll walk you through the entire process, from the moment you open Cricut Design Space to adding the last bit of glue. I can’t wait for you to see how easy it is to make these amazing cards!
Inside the download folder, I’ve included three different designs for making full-size 5″ x 7″ versions on a full-size cutting machine, as well as the same three designs in a smaller 4″ x 6″ Cricut Joy-sized format. The steps are a little different between the two size cards, but I’ll show you how to make both!
You can cut your cards by hand using the PDF in the download file, but the small details are much easier when you cut the SVG file with a cutting machine like a Cricut. I used the Cricut Maker 3 and Cricut Joy, but you can also use the Cricut Maker, a Cricut Explore Series machine, the Cricut Venture, or the Cricut Joy Xtra for this project (or another machine that uses cut files). Just be sure to choose the right size card template for your machine.
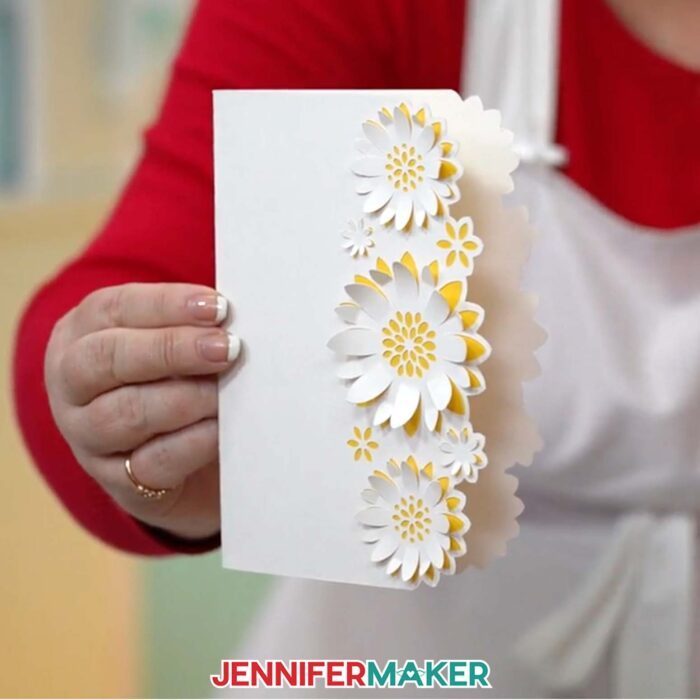
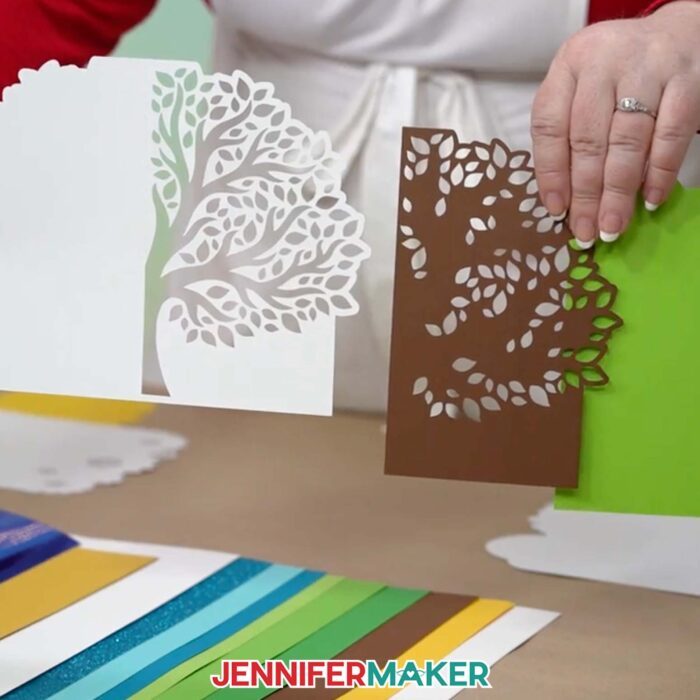
First, I’ll show you how to prepare and assemble a lovely Flower card with three-dimensional petals and pretty cutouts. I’ll demonstrate with the full size version on a Cricut Maker 3. Then I’ll show you how to cut a smaller, modified version of the Tree card design with a Cricut Joy. I love when everyone gets to make a craft, regardless of which cutting machine they have. Then we all get to craft together!
I’ll show you how to make no-score versions of the cards using dashed cut lines instead of a score line, but if you’d like to use the score version of the file to create a fold line, you can use an optional Scoring Stylus or Single Scoring Wheel. These aren’t necessary, though — totally optional. If you want to use a scoring tool and need help setting your score lines, see my Scoring Tools and Tips post.
When it comes time to cut your card pieces, there are only a few craft supplies you’ll need! The first thing you’ll need is some good quality cardstock for each card layer. I’m using white, multicolored and glitter cardstock for my cards, but you can use any kind you like to make your cards unique! There are a whole host of options available, and these designs look great with metallic, shimmer, or even patterned cardstock.
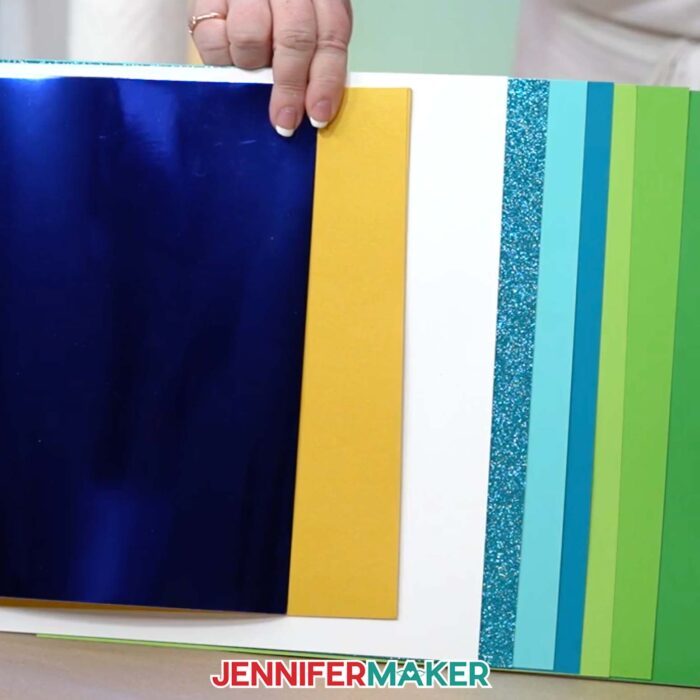
It’s best to use contrasting colors for the outside and inside. If you choose a dark color for the liner, choose a light color for the outside base card. That way, the inner liner will stand out against the cutouts on the front of the card!
If you’re like me and want to use glitter cardstock, you’ll definitely want to keep your blade clean between cutting each mat. These cards have some quite intricate cuts, and a dirty blade can turn an otherwise easy project into a poorly cut mess!
That’s where my aluminum foil trick comes in. Poking the foil will clean off any vinyl adhesive, oxidation, or cardstock fibers from the surface of the blade, making your cuts sharper and neater and saving yourself a lot of frustration and wasted materials.
To clean your blade ball up a sheet of foil and press the plunger on your blade housing until the blade sticks out. Poke the blade in and out of the foil ball about 30-40 times. Be very careful, as the blade is held inside the casing by a magnet. It may get stuck in the foil as you poke it in and out, but don’t worry — just carefully pull it out and stick it back in the housing.
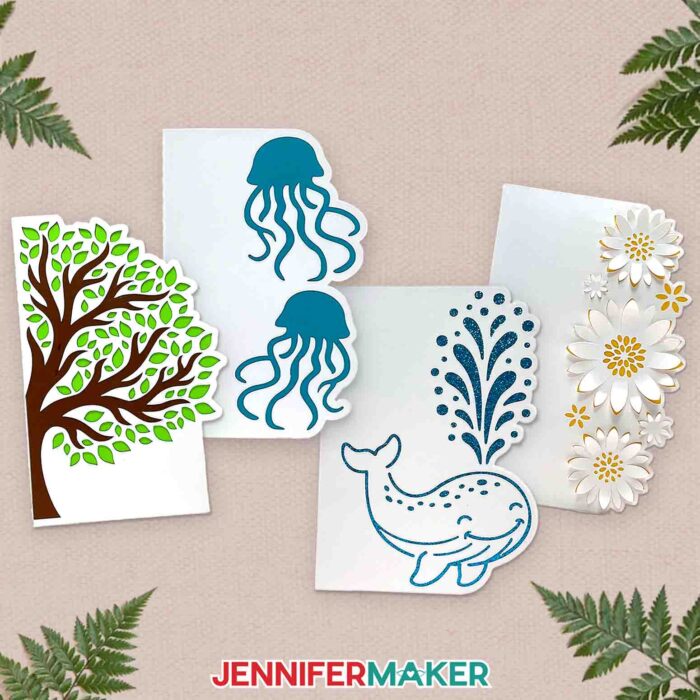
Now you may spy a fourth card here — a Jellyfish card! This is an example of a shaped edge card you can design yourself in my ADVANCE program. It was designed entirely in Cricut Design Space, so I cannot share it with you here, but you can make it yourself. Learn more about the ADVANCE with JenniferMaker program here!
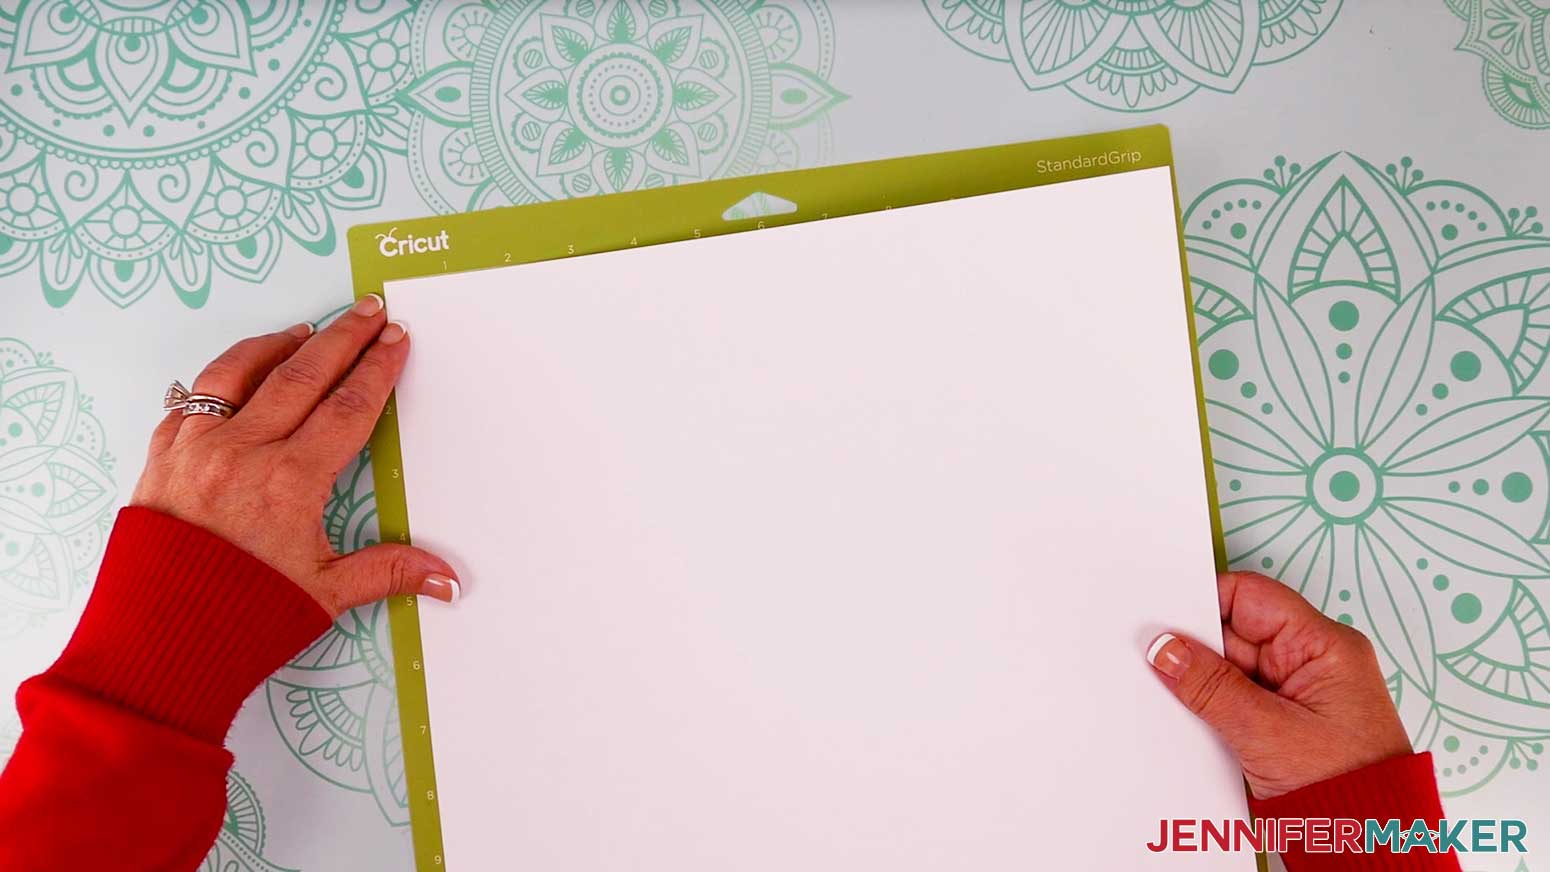
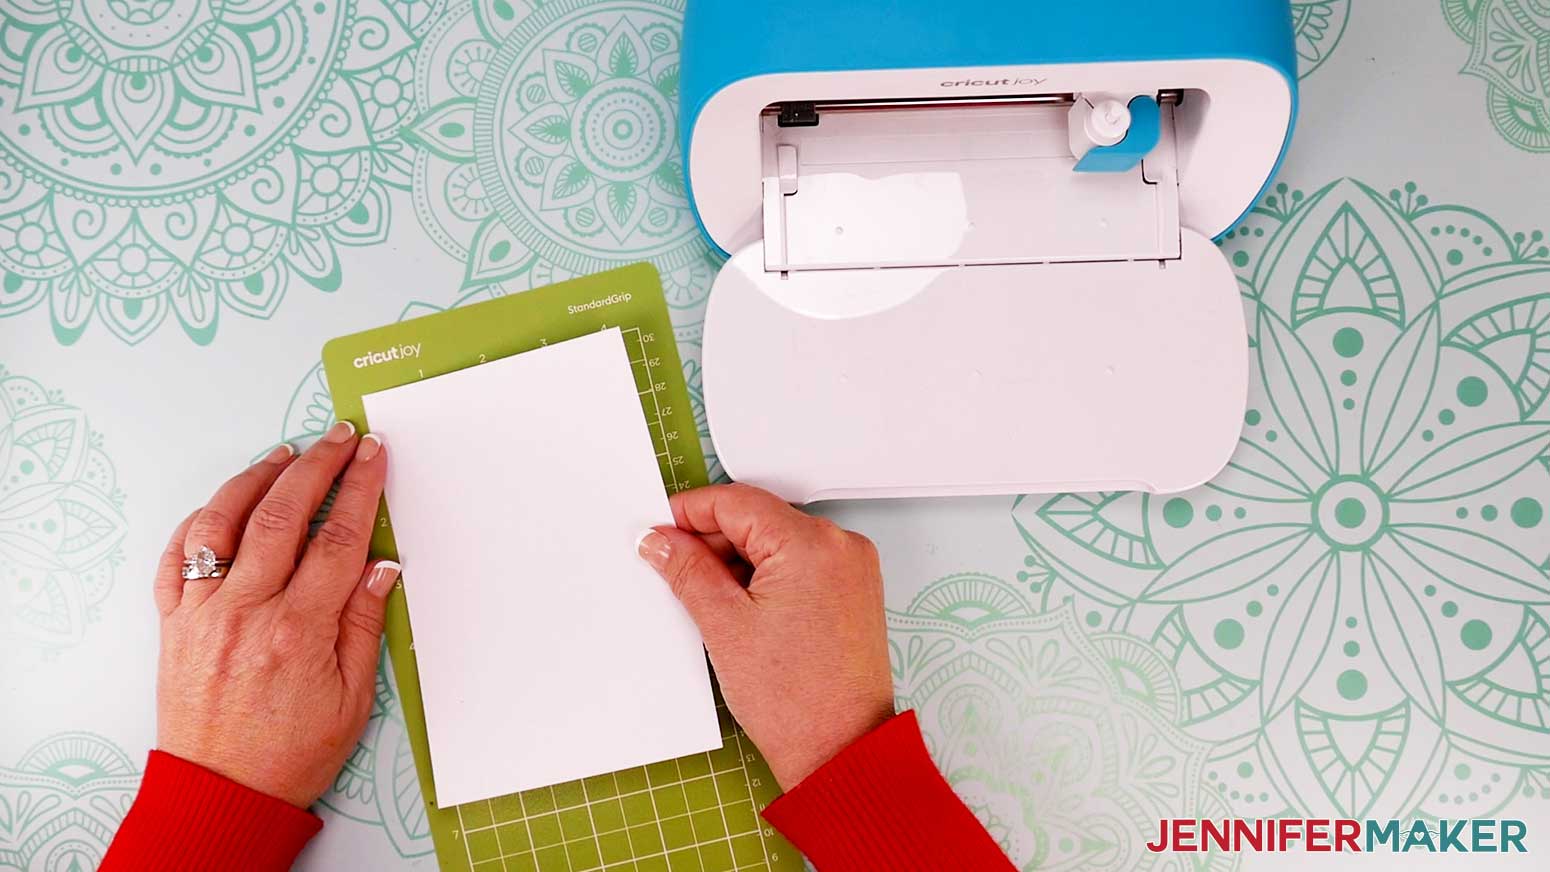
Along with your cutting machine, you’ll need the standard green StandardGrip machine mat, a brayer, and a spatula for removing the delicate pieces of the cards. It’s also handy to have a scraper, a weeding tool, and a pen for curling petals around from the flower card — that’s how you get the cool 3D effect.
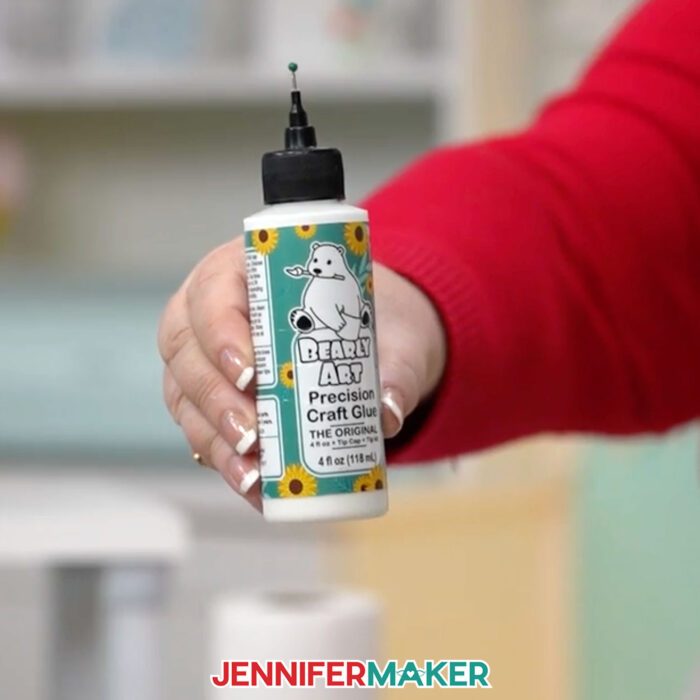
To attach the liner layers inside your cards, you’ll need a little bit of glue to hold it all together. I recommend using a good quality craft glue like Bearly Art Glue.
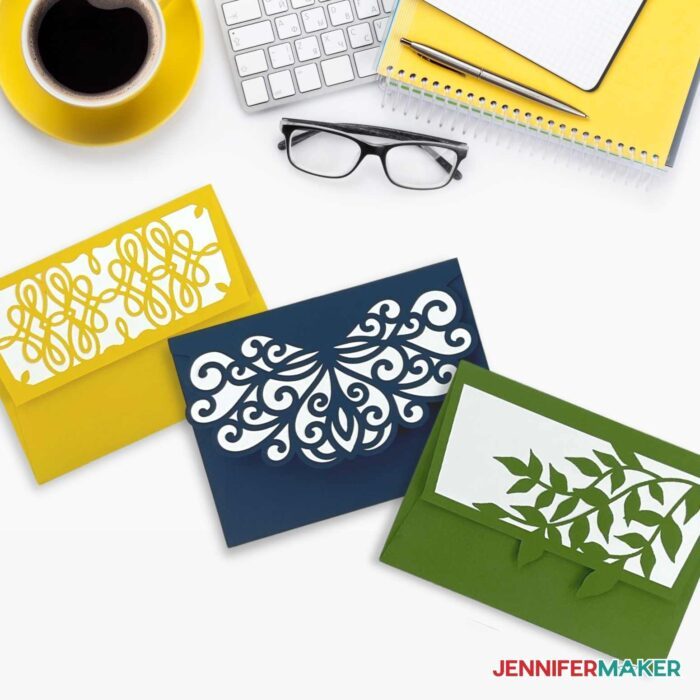
To send your card through the mail, you can even make a DIY envelope! Just follow my easy Envelope tutorial. If you didn’t resize the cards, the A7 size envelope fits the 5″ x 7″ cards and the A6 size fits the 4″ x 6″ cards.
Cricut card-making is a fun and easy way to light up someone’s day. Personalize the cards with the recipient’s favorite colors, make a coordinating envelope, and send a smile to someone you care about!
Let me show you how easy it is to make these shaped edge cards! This post contains some affiliate links for your convenience (which means if you make a purchase after clicking a link I will earn a small commission but it won’t cost you a penny more)! Read my full disclosure policy.
Quick Links to Information in this Post
Learn to make shaped edge cards with design cutouts!
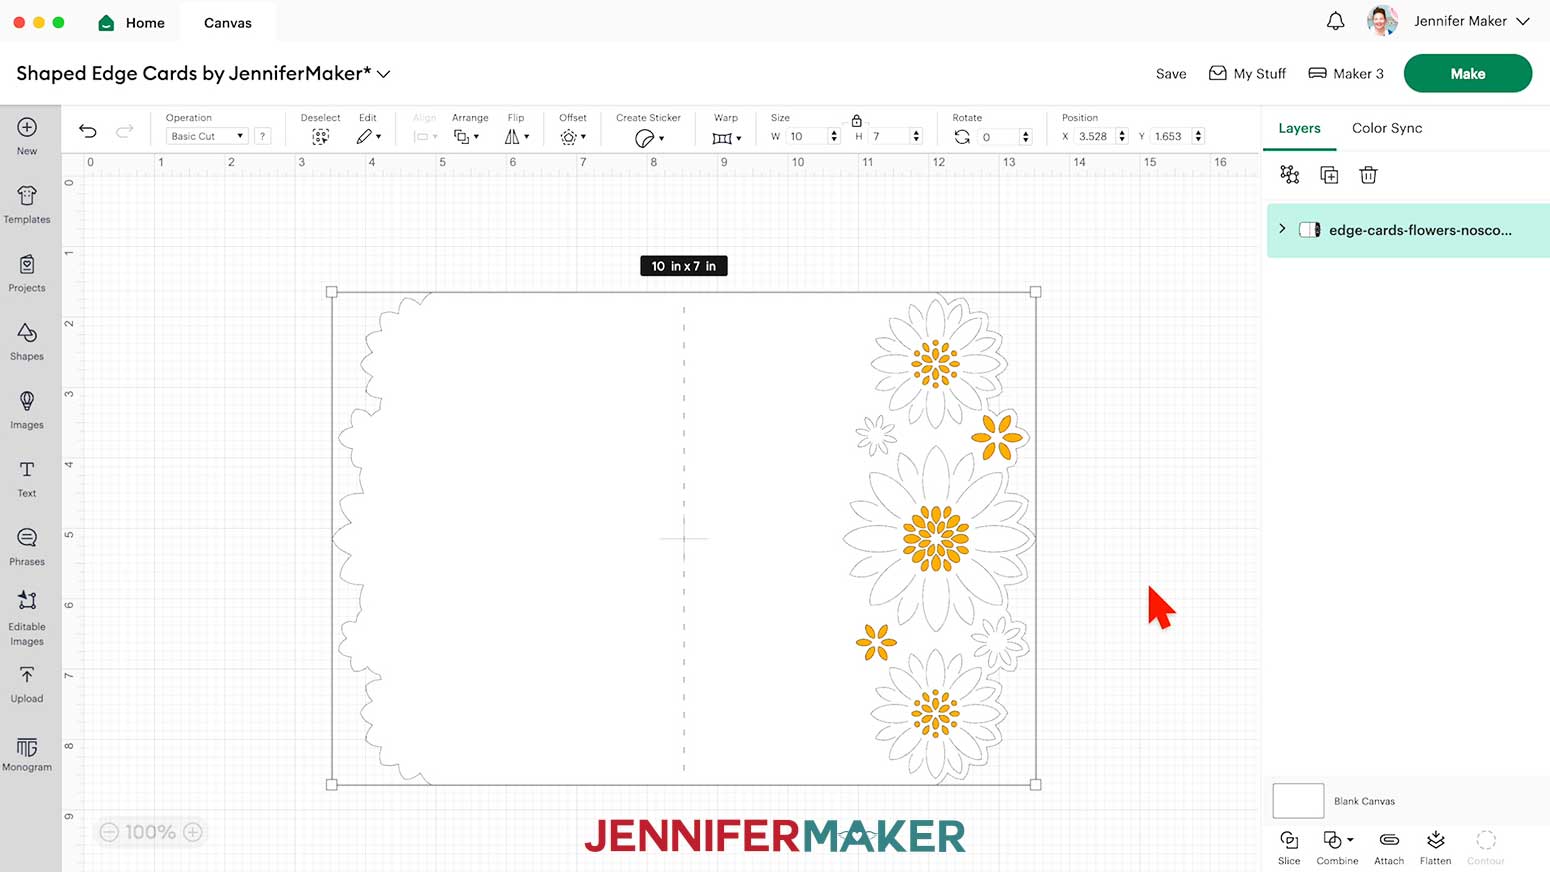
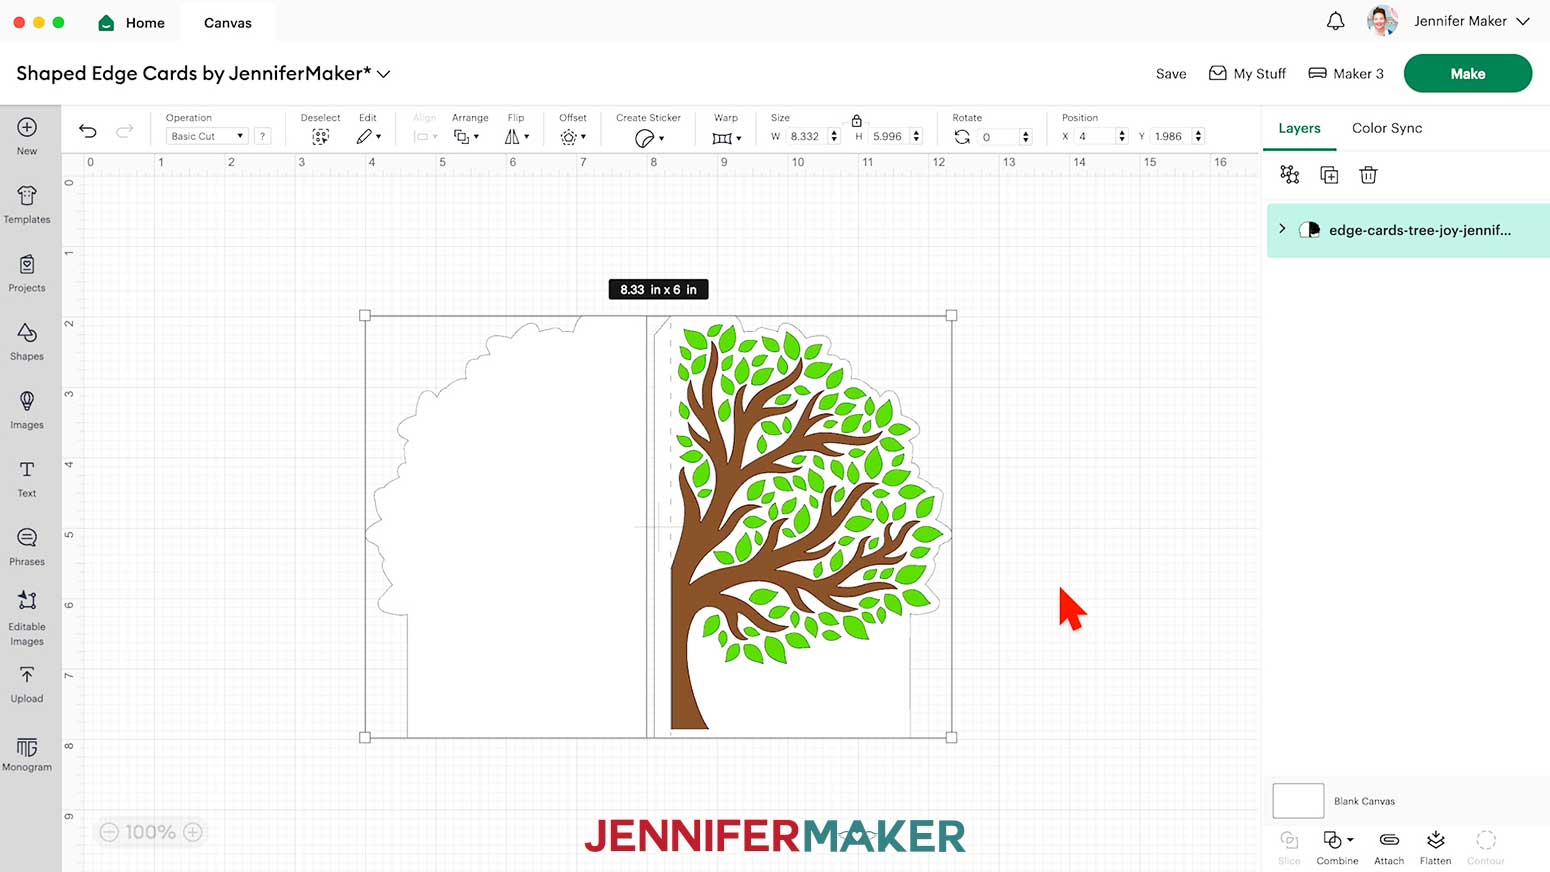
First, download my Shaped Edge Cards designs from my free library – look for Design #598. Alternatively, you can use the Save This Project form near the top of this post and the design link will be emailed to you.
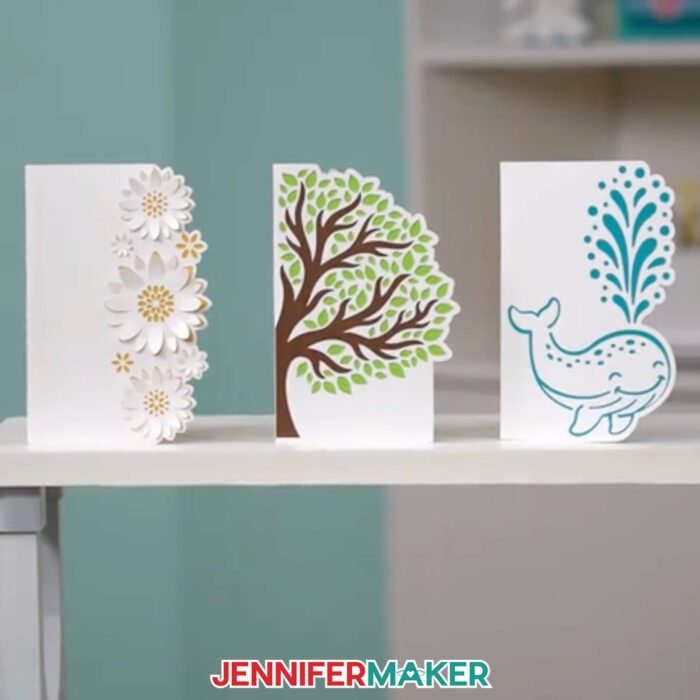
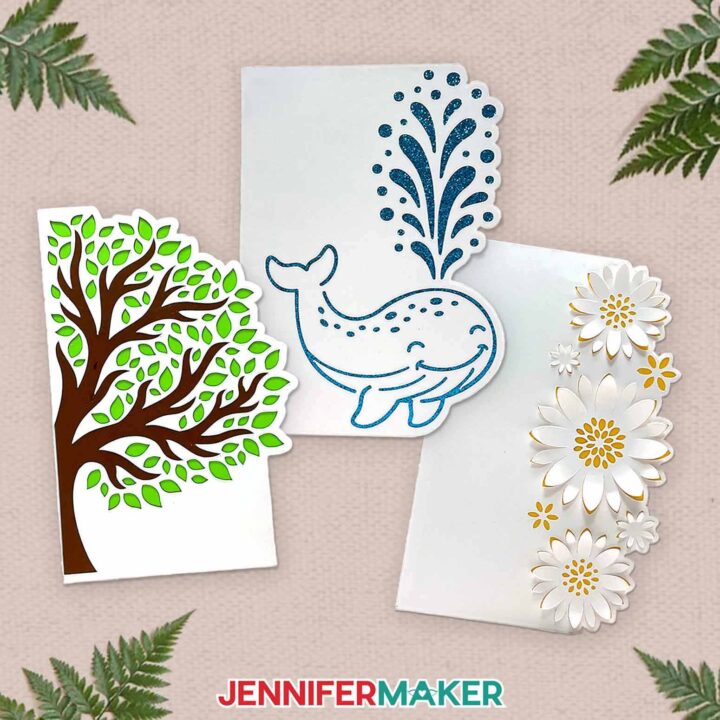
In the SVG folder, you’ll find three designs: A flower card, a tree card, and a whale card. Each design has a no-score version that uses dashed cut lines to create the foldable creases, and a score version that uses a scoring tool to create the creases.
There is also a folder for Joy users that contains Cricut Joy-sized versions of each of the three designs, with dashed cut lines to create the foldable creases. Also, there is a DXF folder with cut files, and a PDF folder with versions you can print and cut by hand.
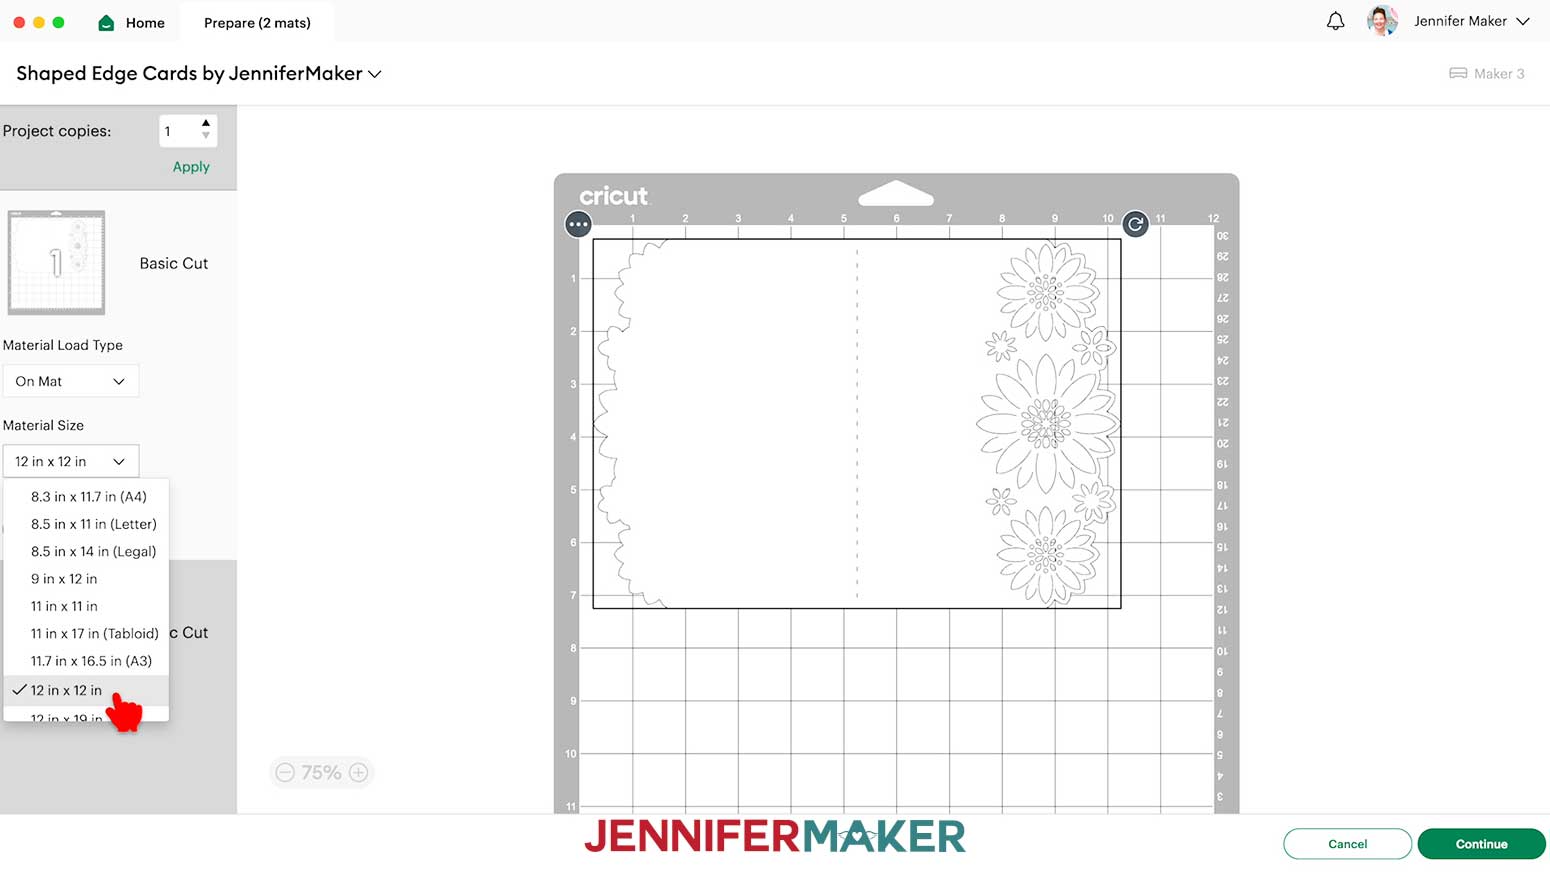
In this tutorial, I will show you how to prepare and assemble the full-size no-score version of the Flowers card with a Cricut Maker 3, and the Joy-size version of the Tree card using a Cricut Joy.
If you want to make the score version of the designs, follow the steps from my score tool tutorial to adjust your file.
OPTION 1: FULL-SIZE SHAPED EDGE CARD
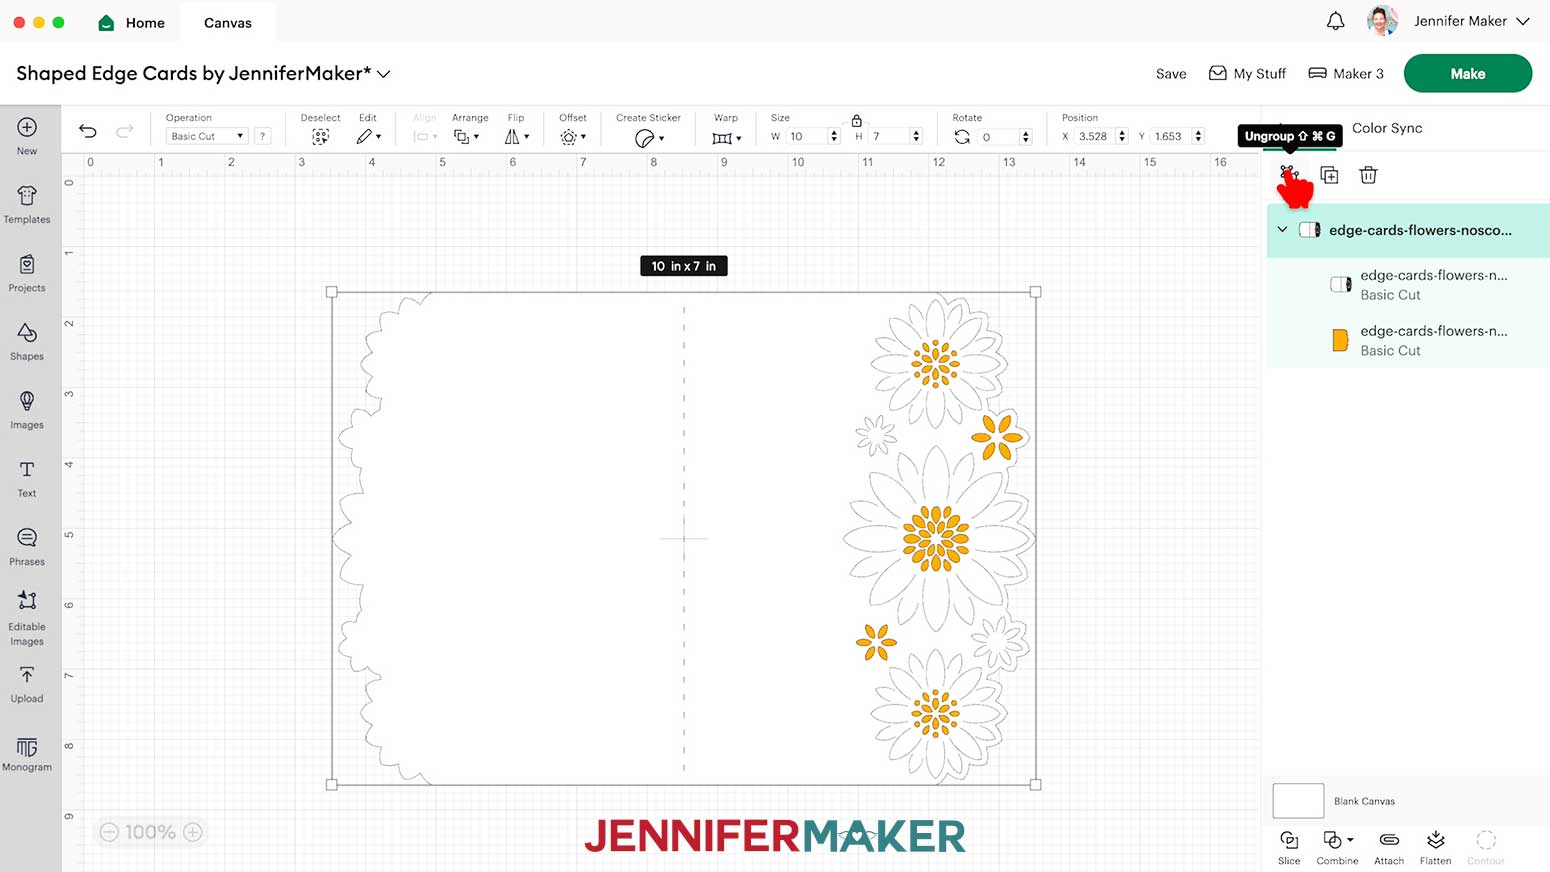
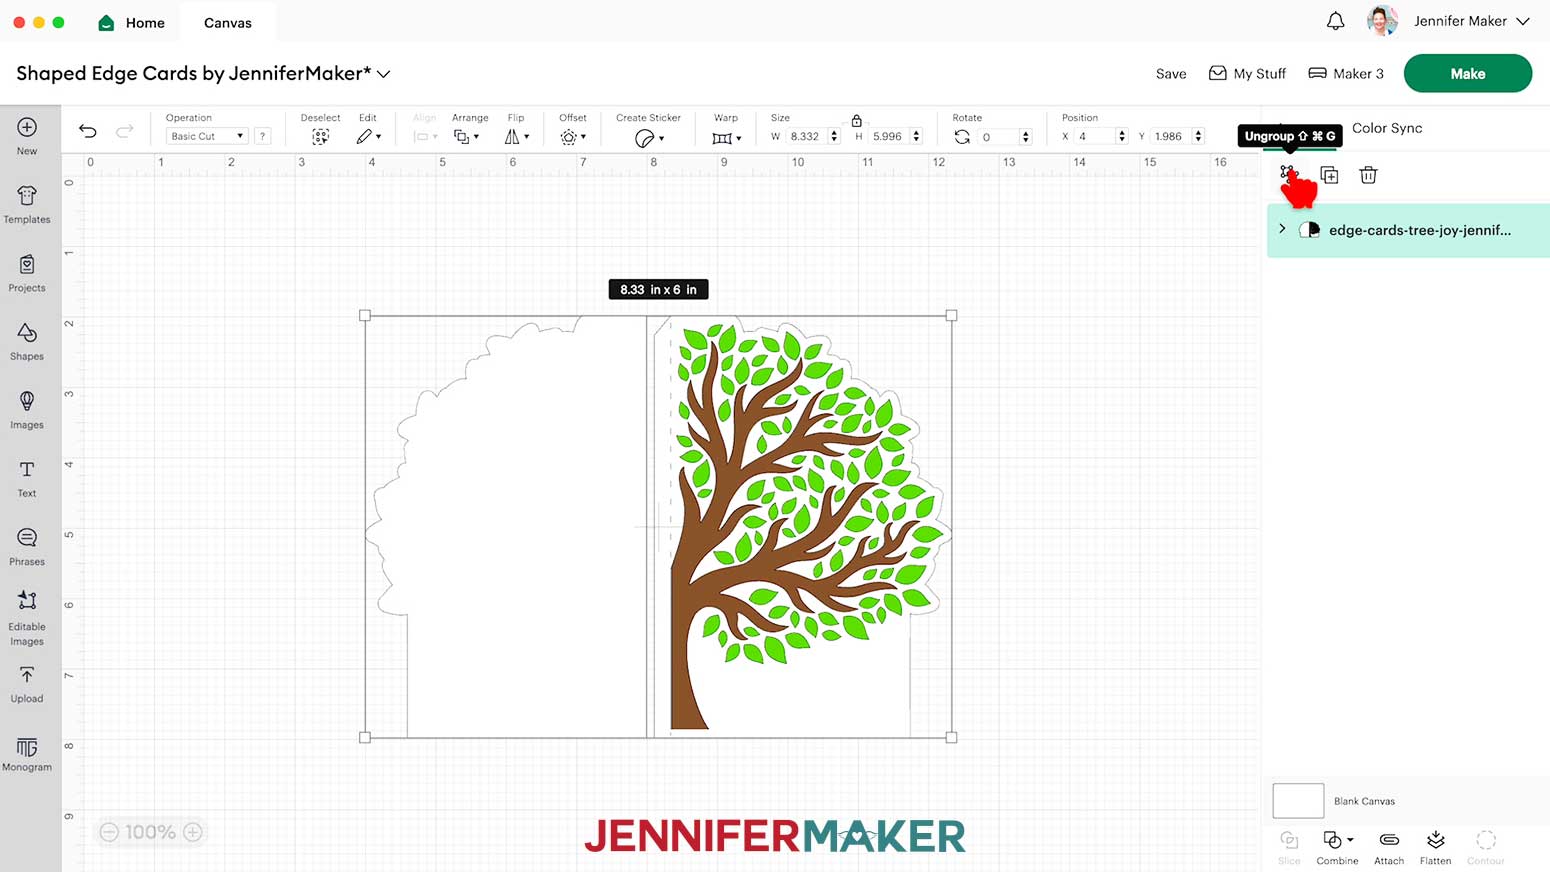
Ungroup the design.
“Medium Cardstock - 80 lb (216 gsm)” setting with “More” Pressure for the 65 lb cardstock pieces

“Medium Cardstock - 80 lb (216 gsm)” setting with “More” Pressure for the shimmer cardstock pieces, two passes
“Glitter Cardstock” setting with “More” Pressure for the glitter cardstock pieces
TIP: Use a spatula to carefully remove any intricate parts and a weeding tool to pop out any small pieces. If you have trouble with any of your cuts, check out my Cricut Tips & Tricks for Cleaner Cuts.

Repeat steps 17-21 for each additional mat.
I’ll demonstrate with a full-size Flower card design, but these instructions are similar for the other two full-size designs. I’ll use the no-score version of the design, but if you want to make the score version, follow the steps from my score tool tutorial to adjust your file.
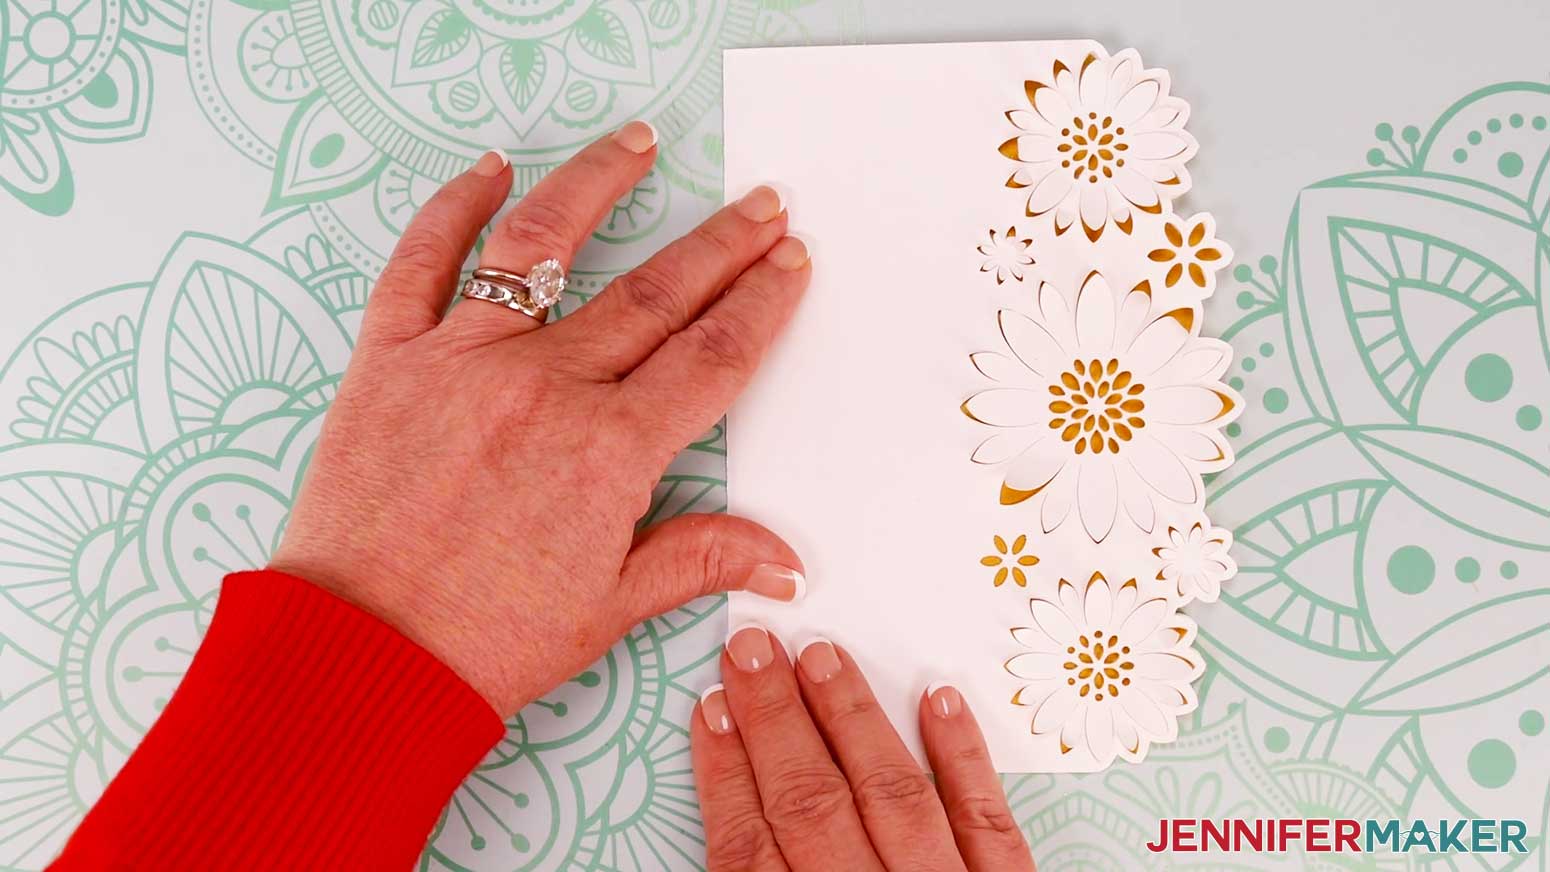
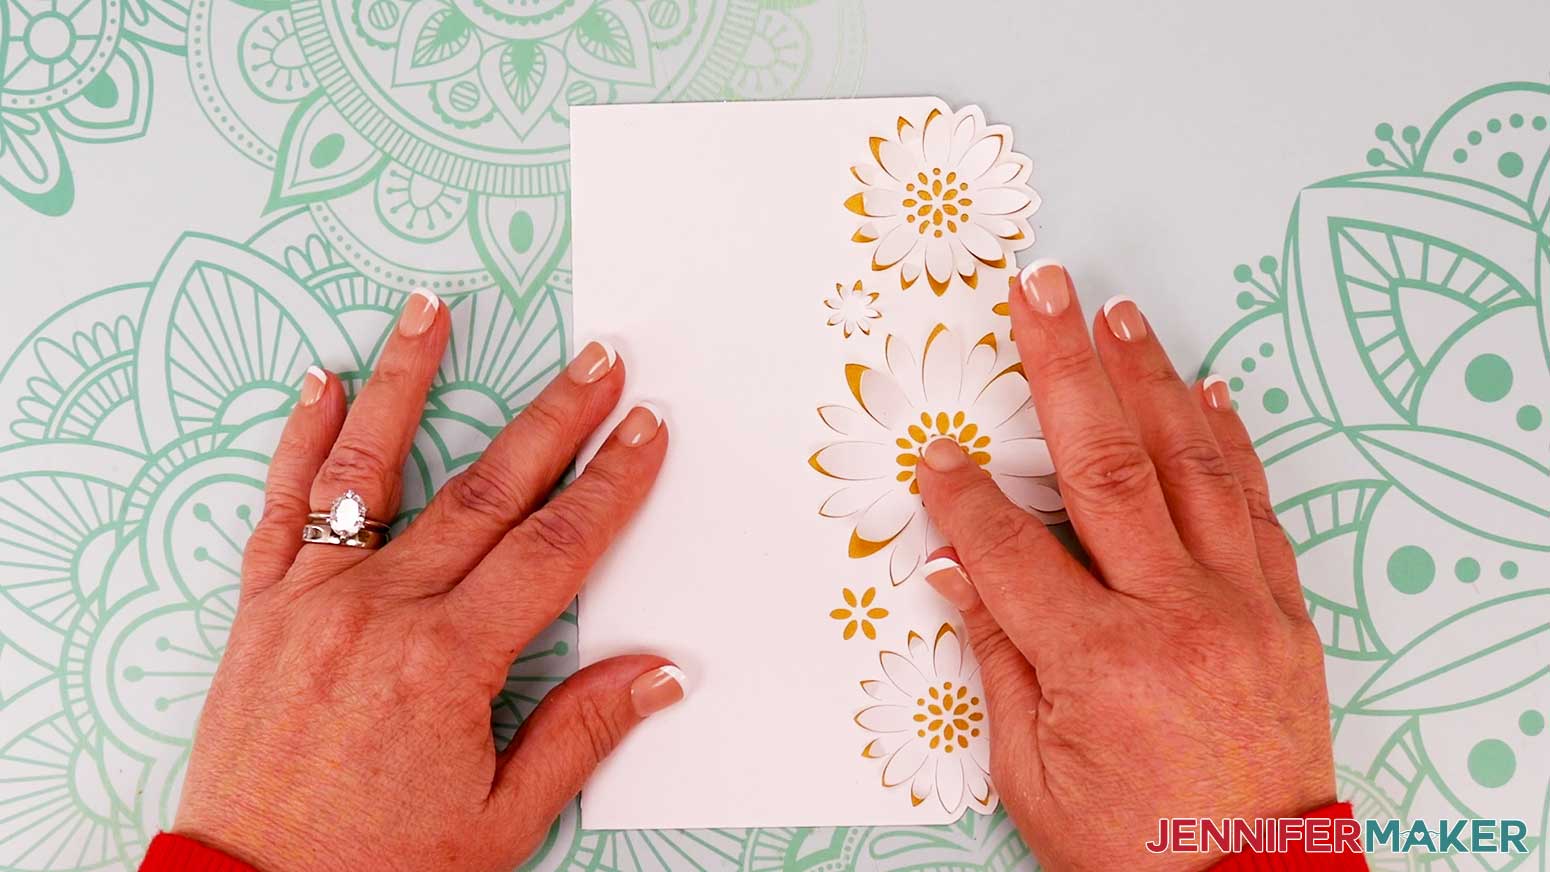
Curl each large petal around a pen or marker to make the flowers pop off the card.
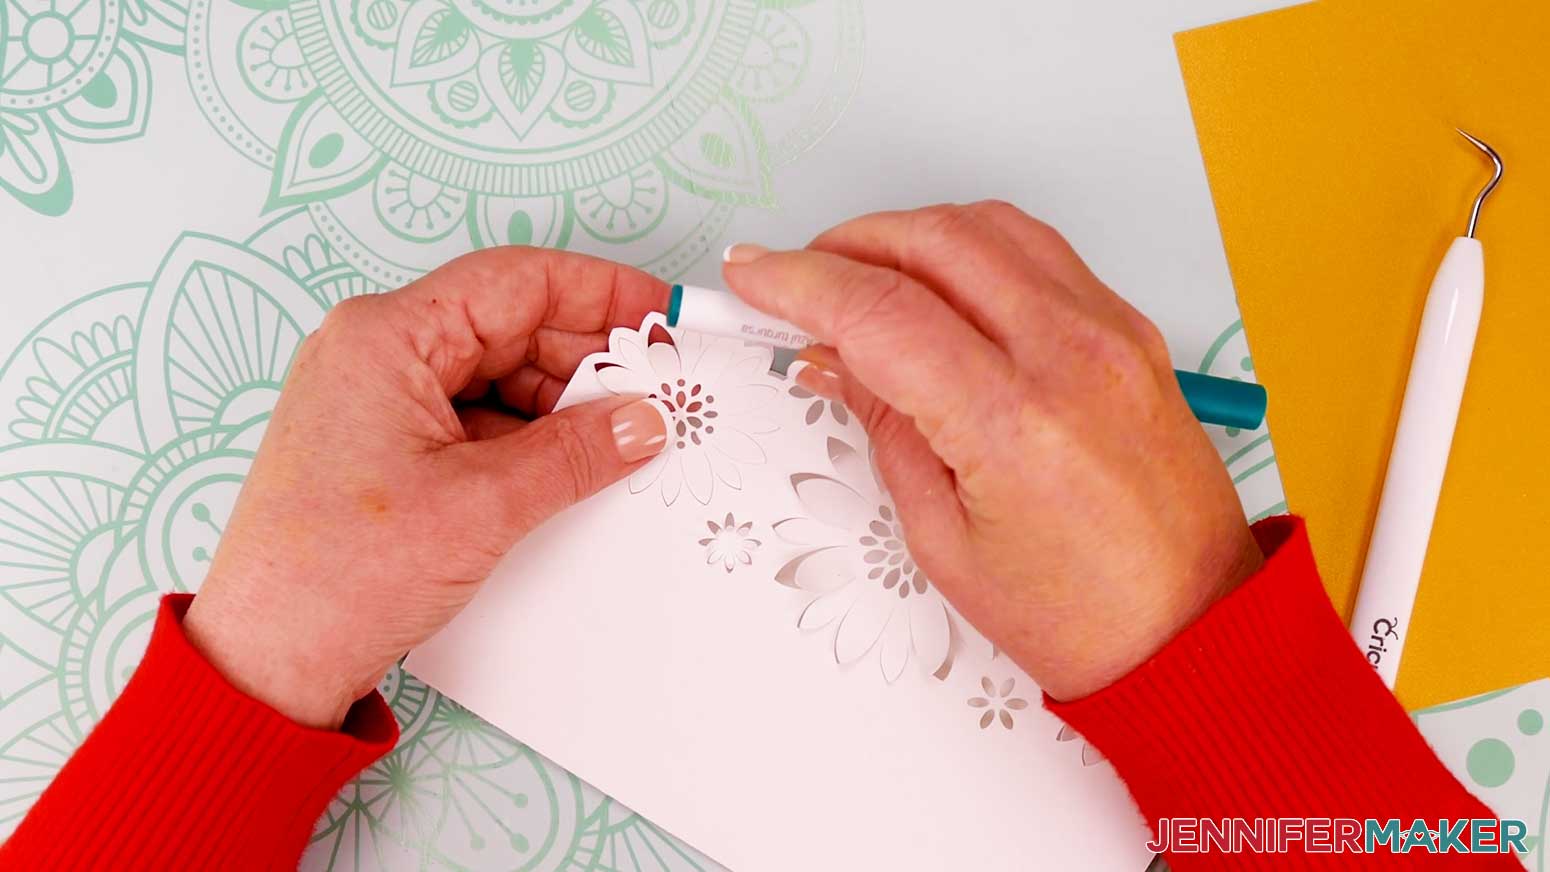
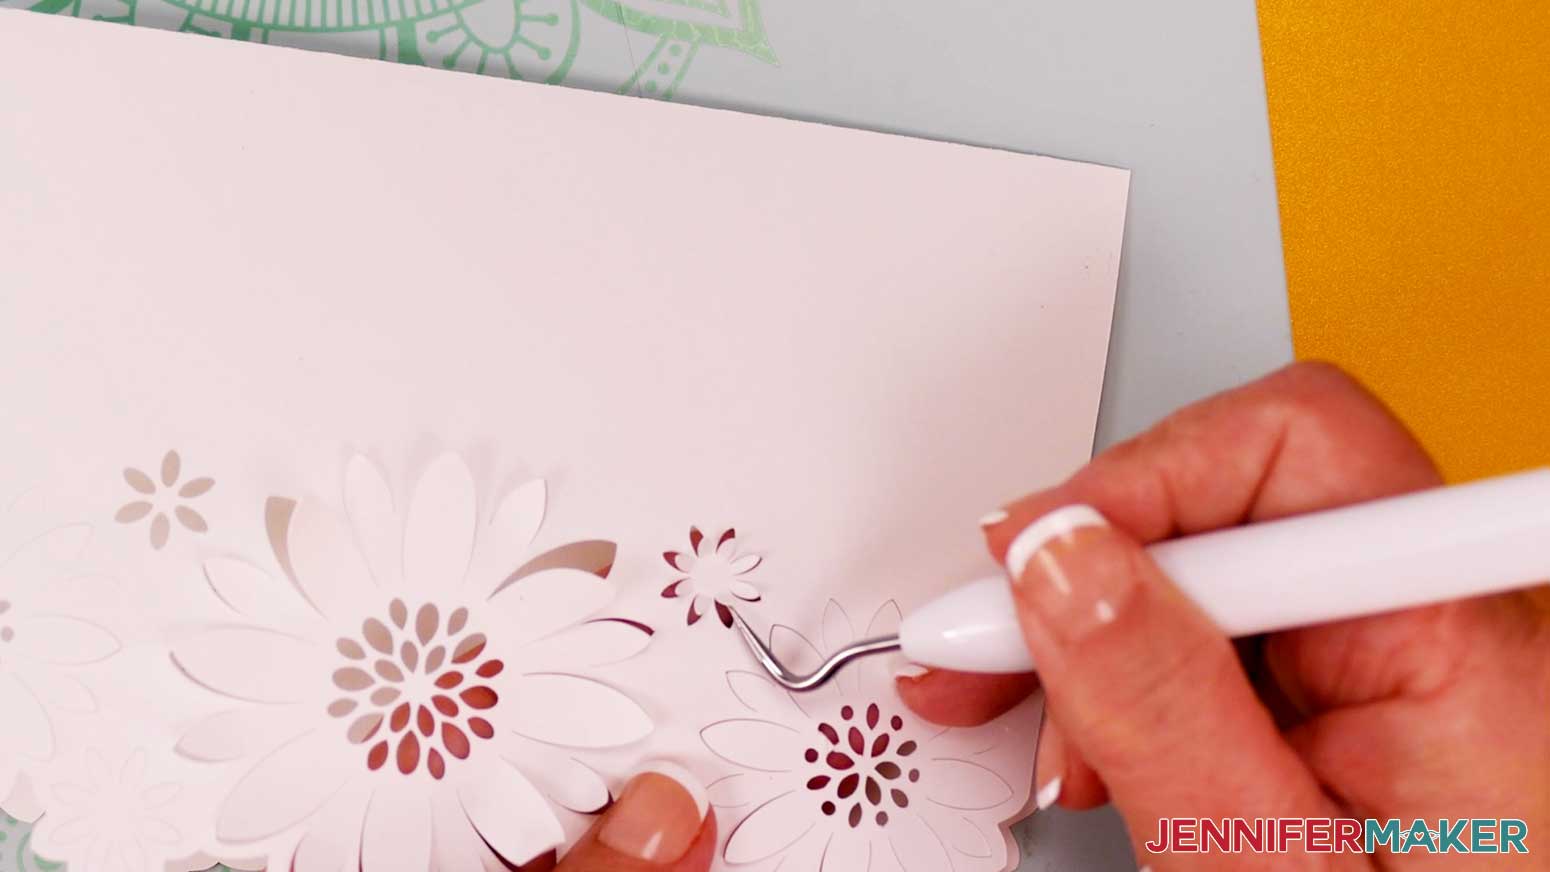
Use a weeding tool to bend or curl the smaller cut petals upward on the three larger flowers, as well as on the small individual flowers.

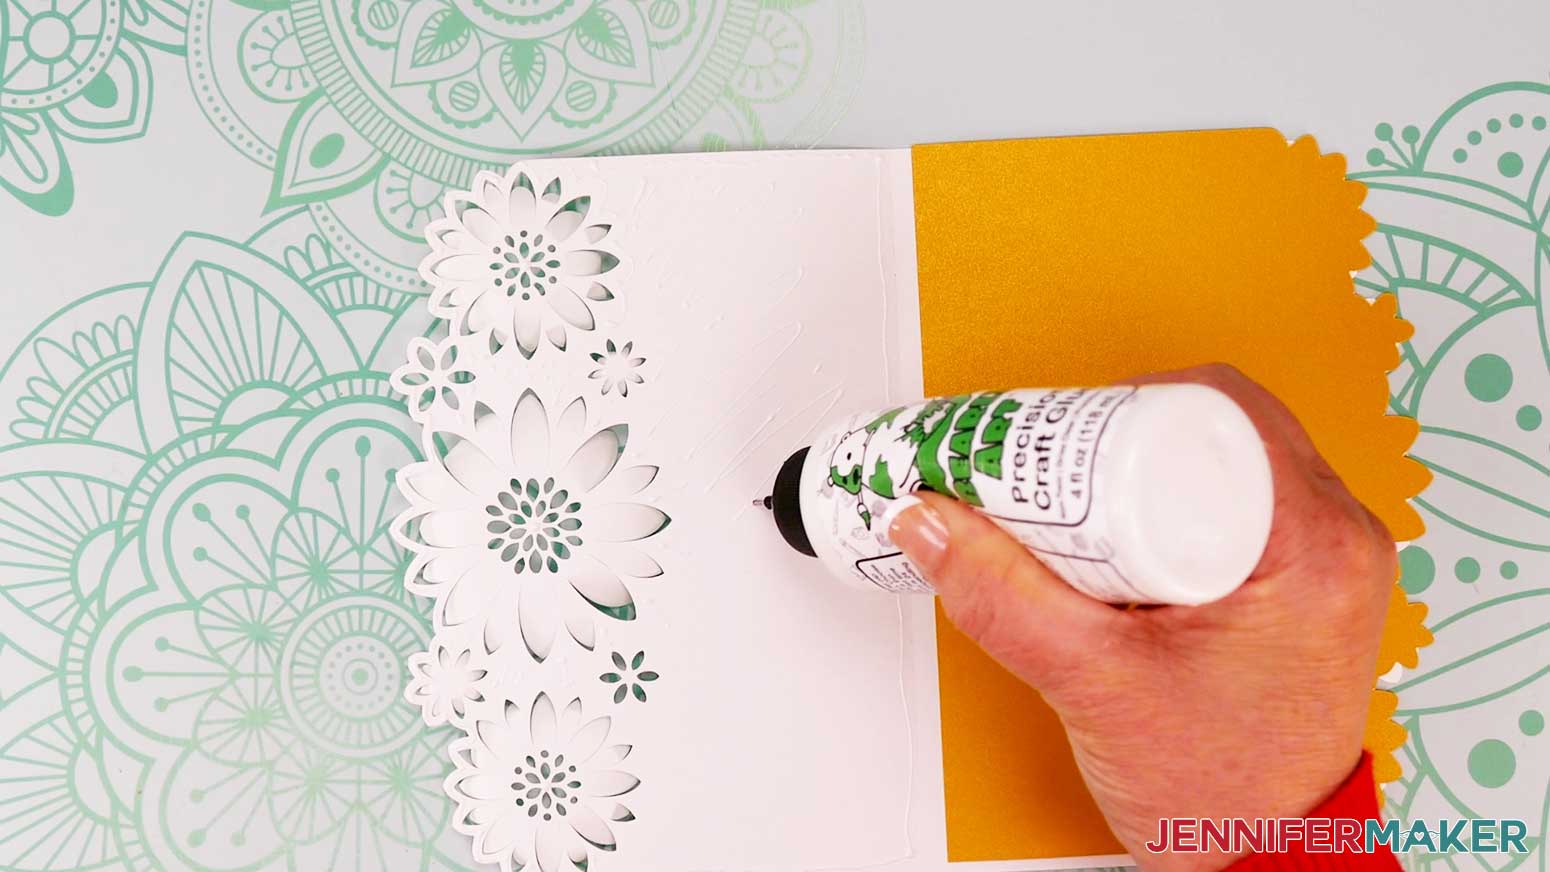
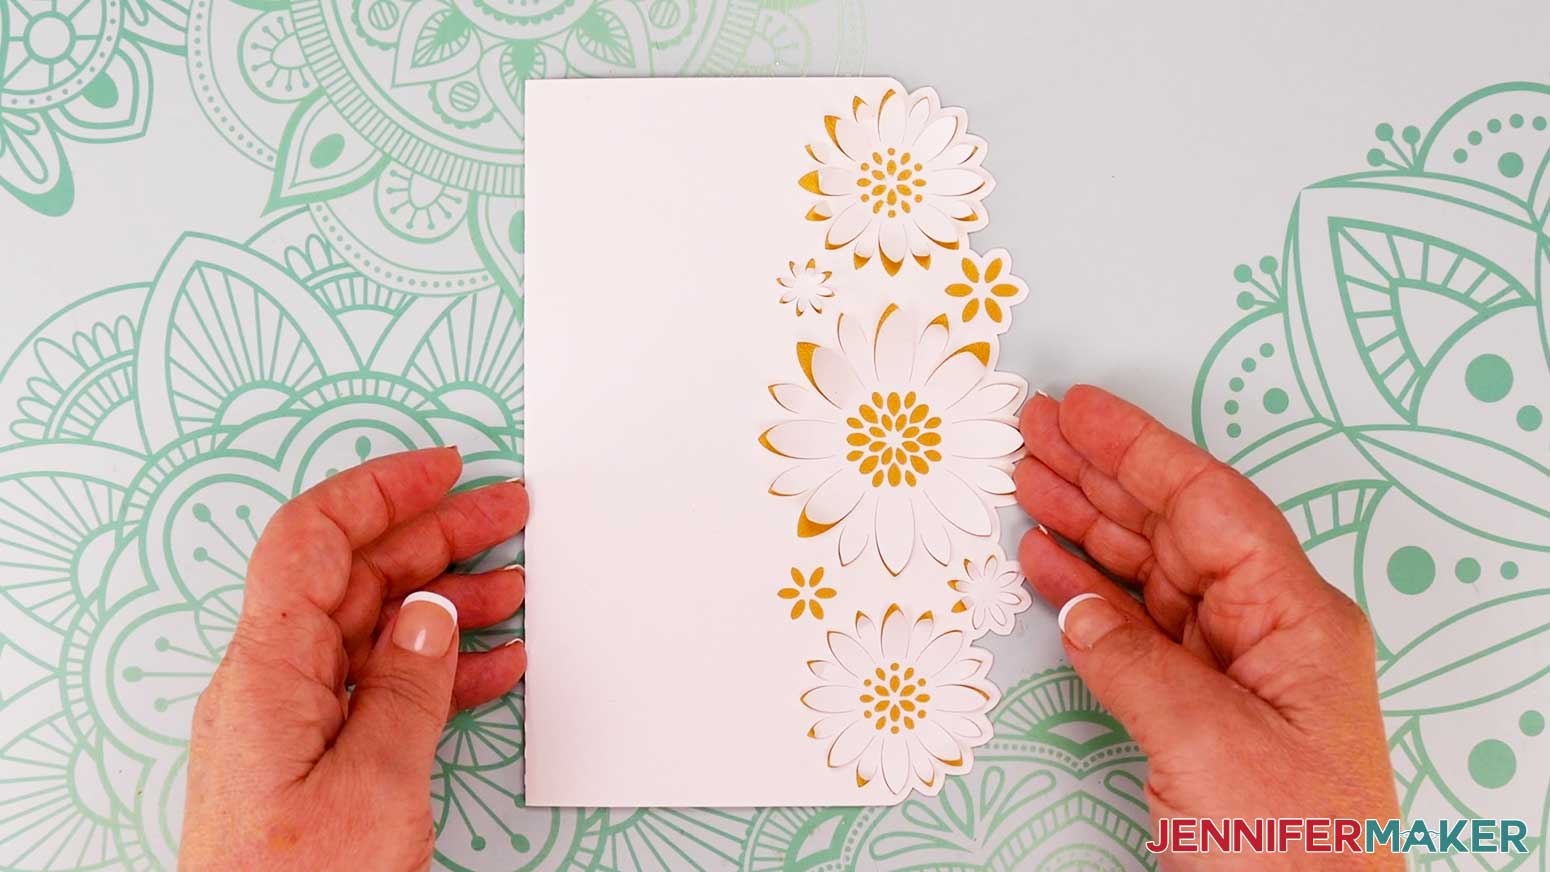
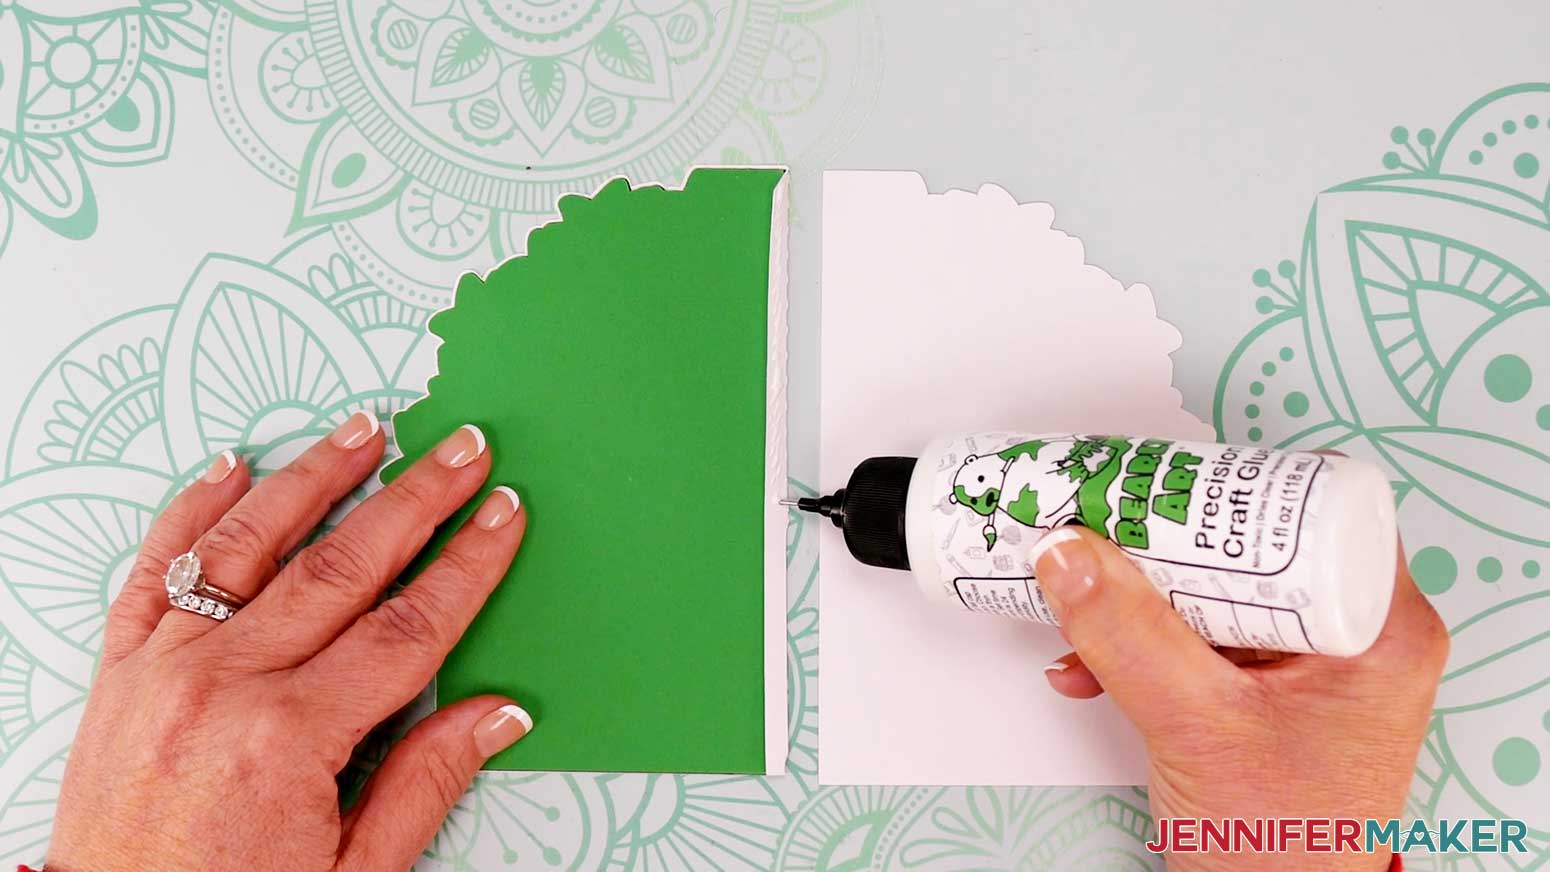
Apply craft glue to the inside of the card base on the side with the cut out flowers. Be sure to apply glue all around the flower edges and in the center of each flower, but don’t apply any to the petals.
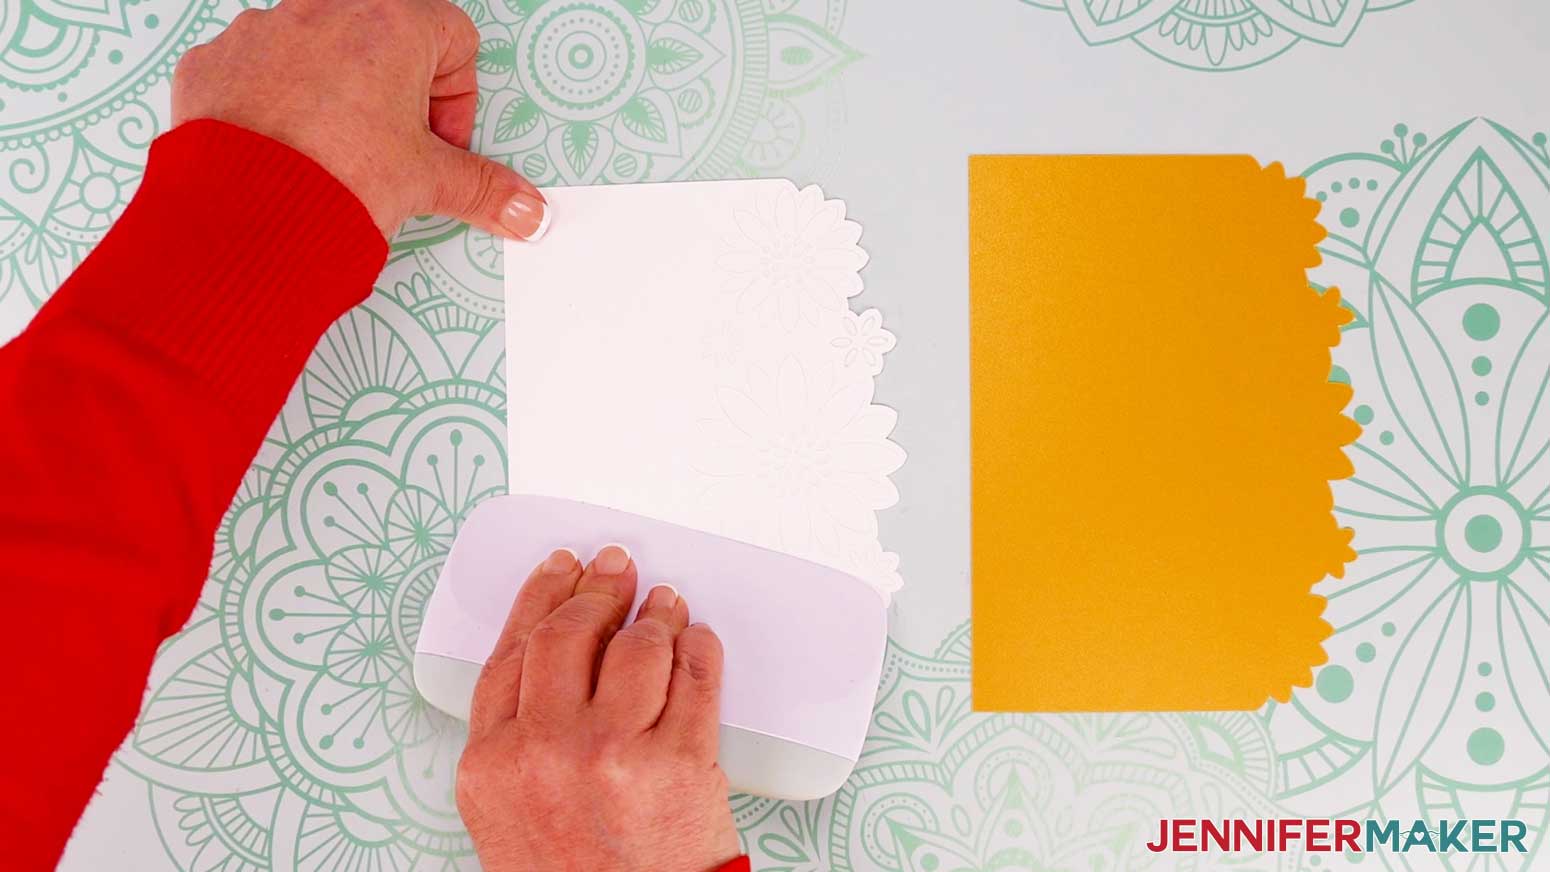
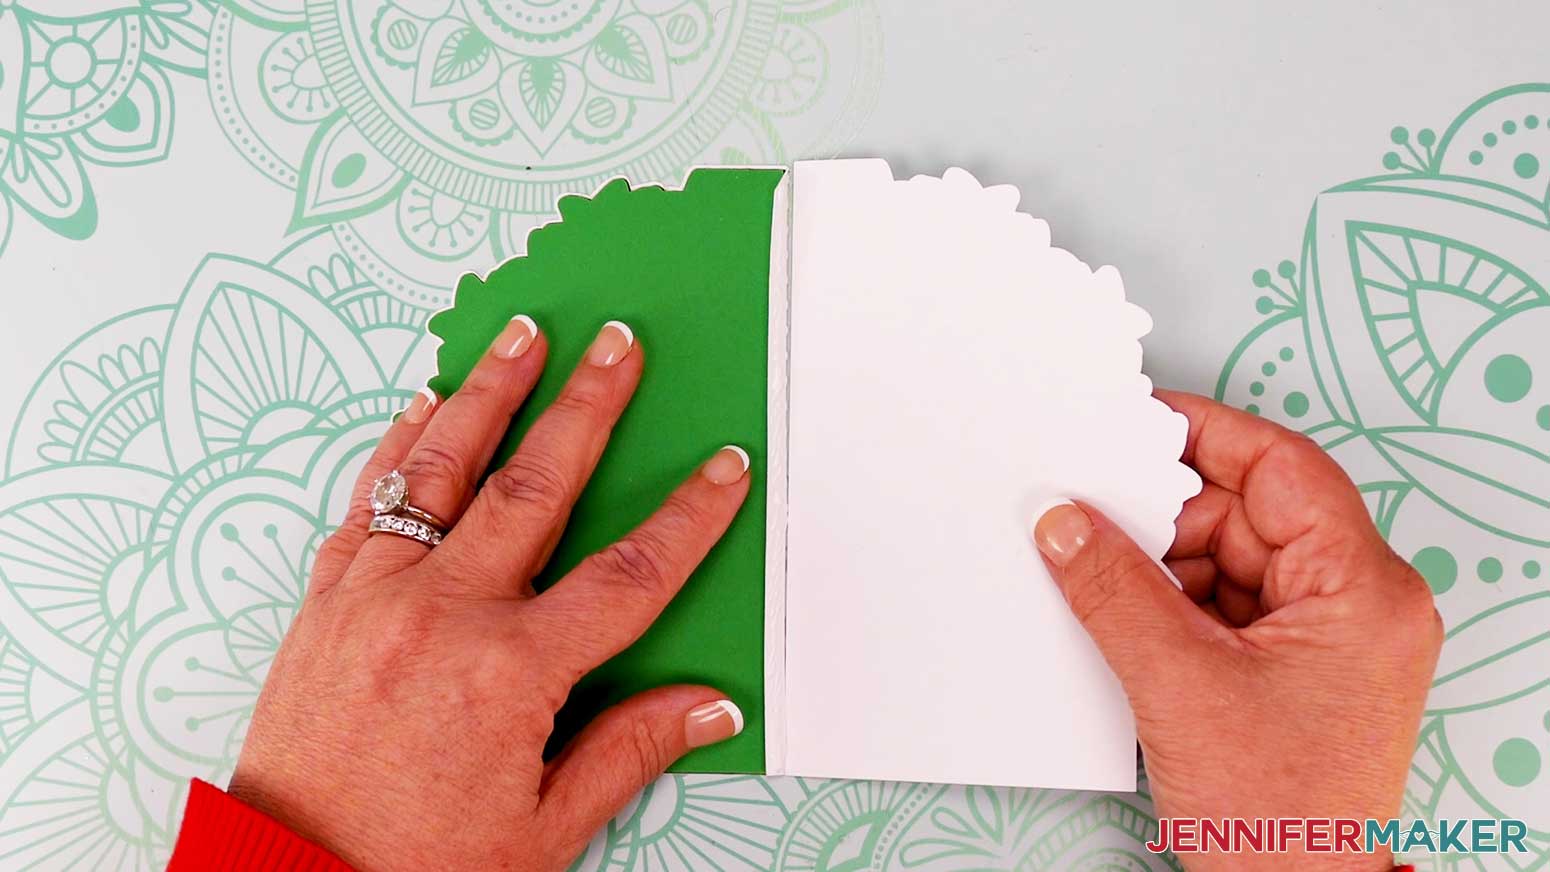
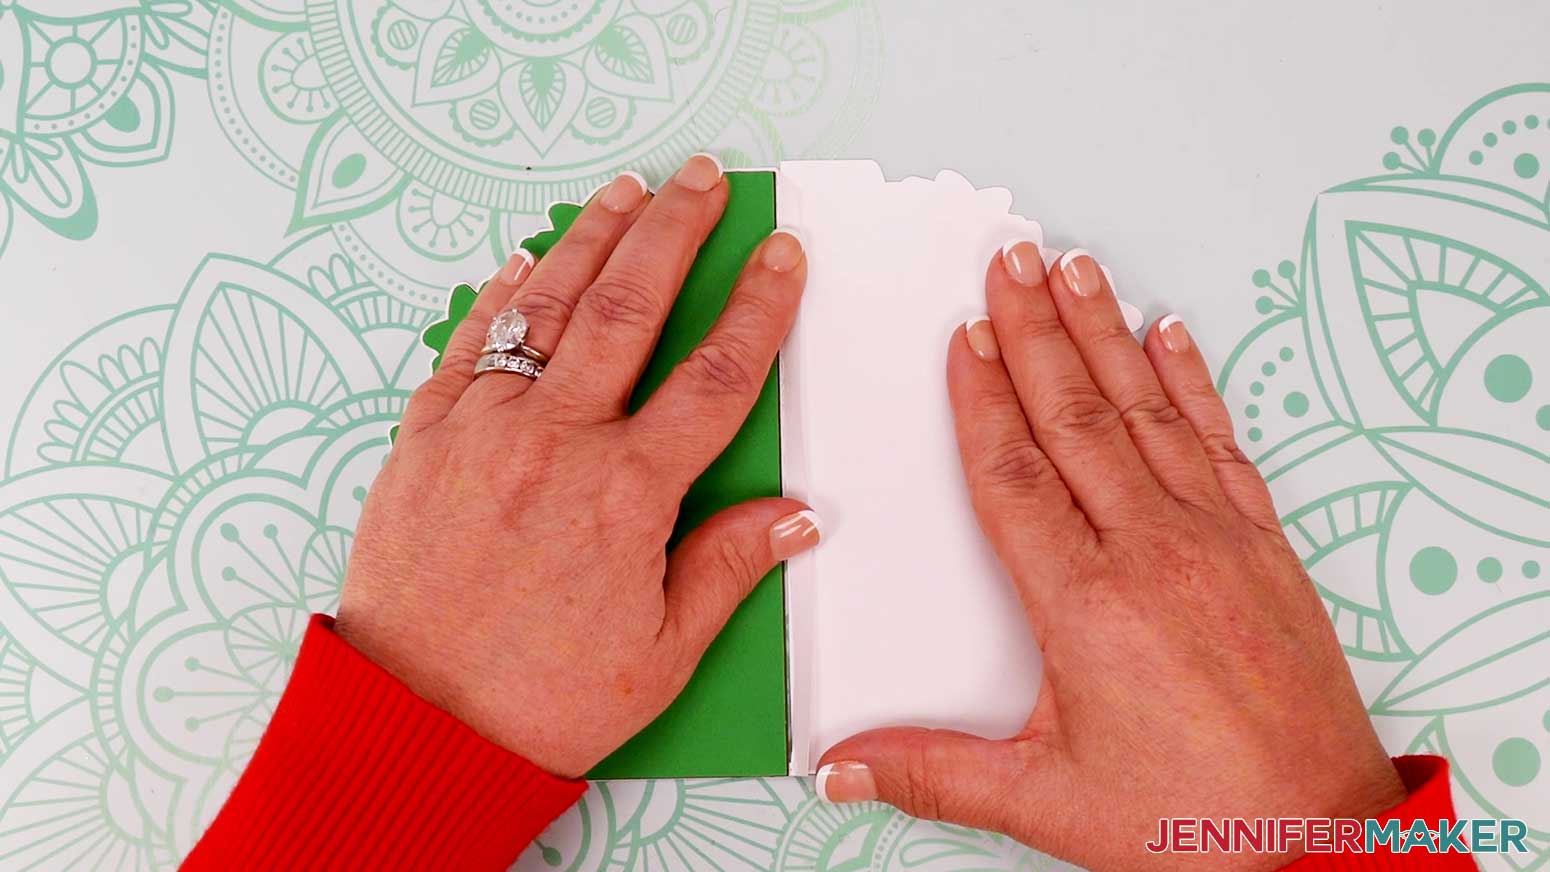
Push the liner squarely into the crease and carefully close the card to adhere the front to the liner.
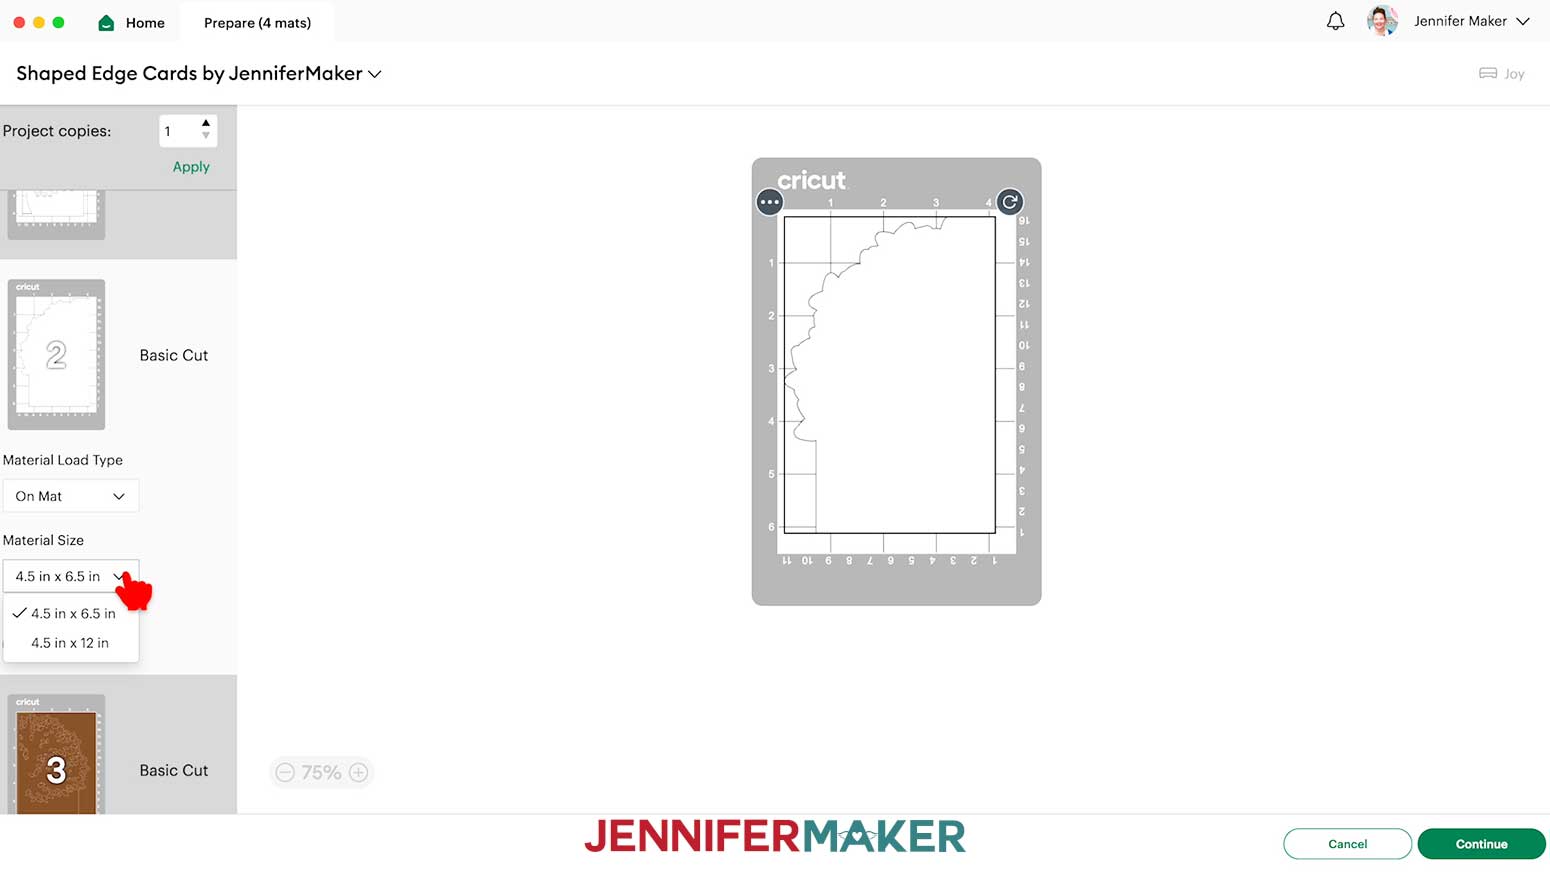
OPTION 2: JOY-SIZE SHAPED EDGE CARD
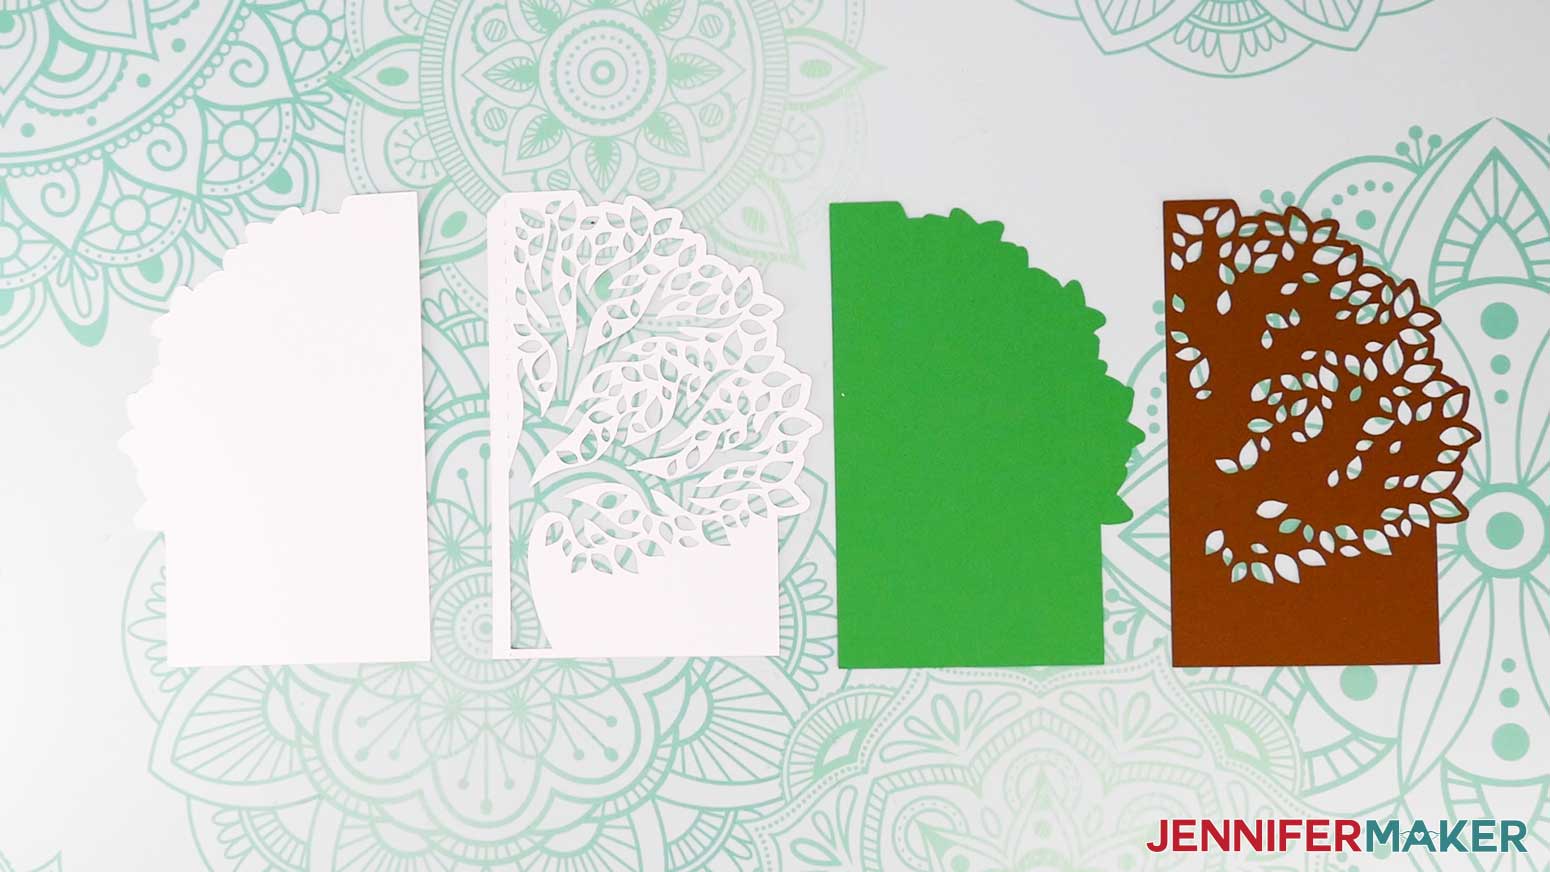
Ungroup the design. There is a solid back base piece, a front base piece with cutouts, and two colored liners that layer inside to make the tree.
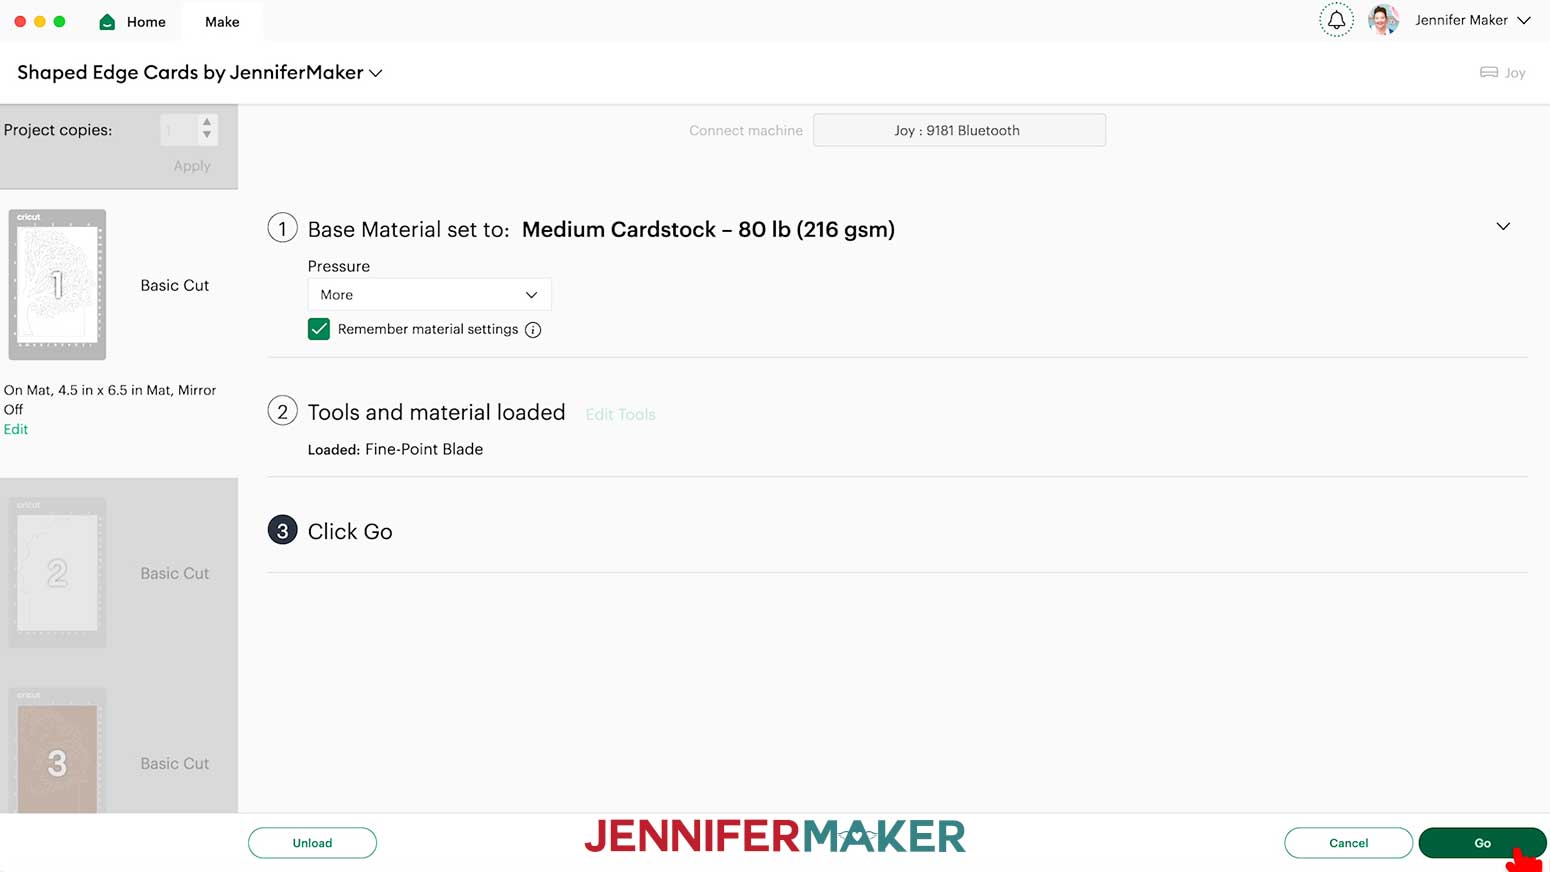
“Medium Cardstock - 80 lb (216 gsm)” setting with “More” Pressure for the 65 lb cardstock pieces
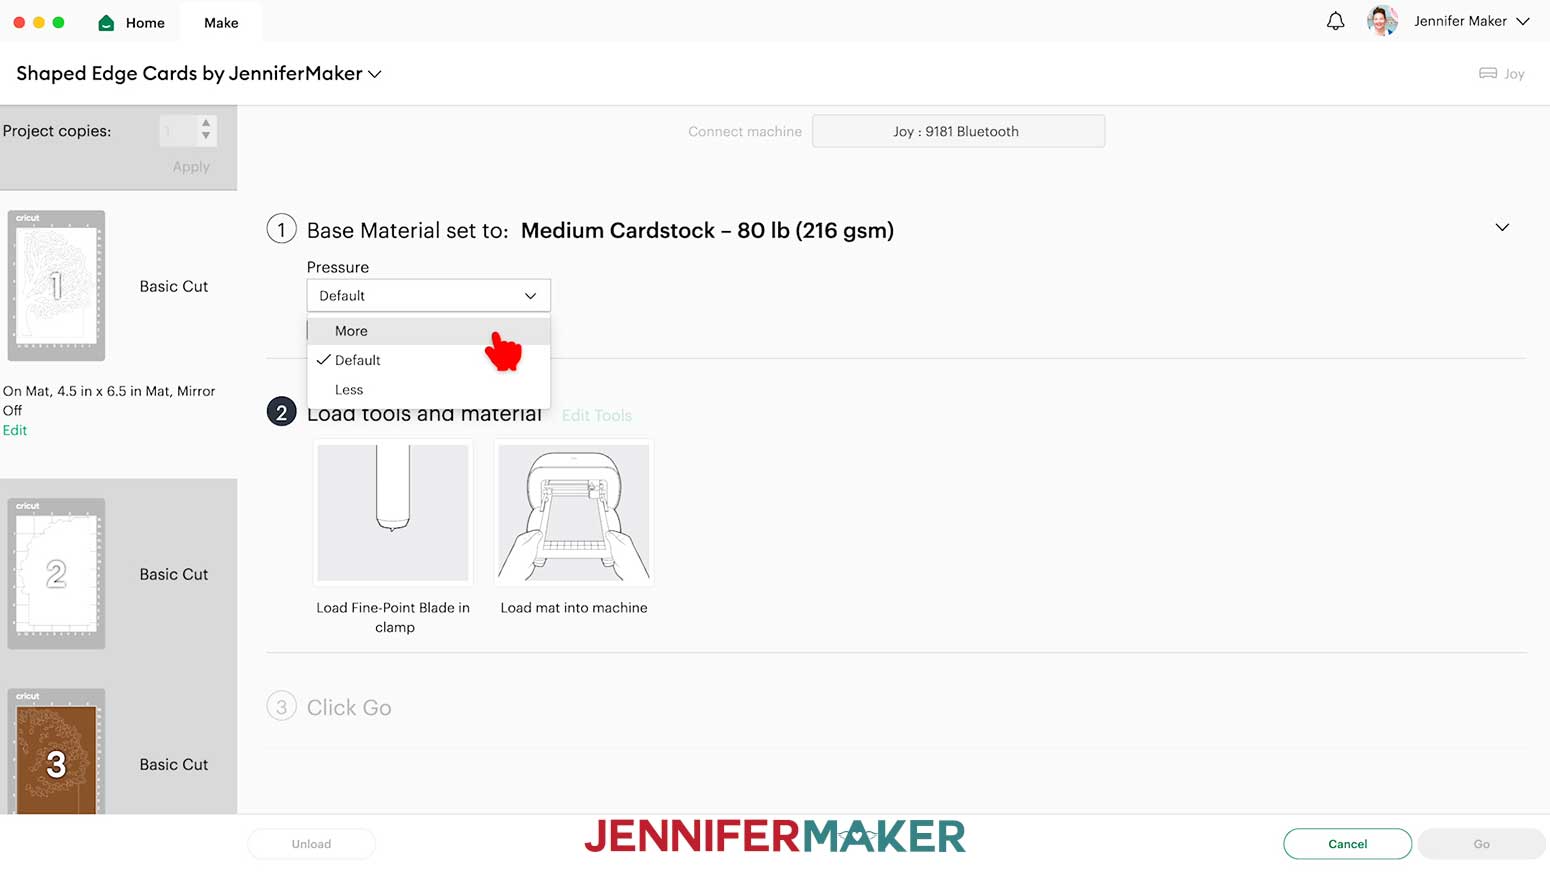
“Medium Cardstock - 80 lb (216 gsm)” setting with “More” Pressure for the shimmer cardstock pieces, two passes
“Glitter Cardstock” setting with “More” Pressure for the glitter cardstock pieces
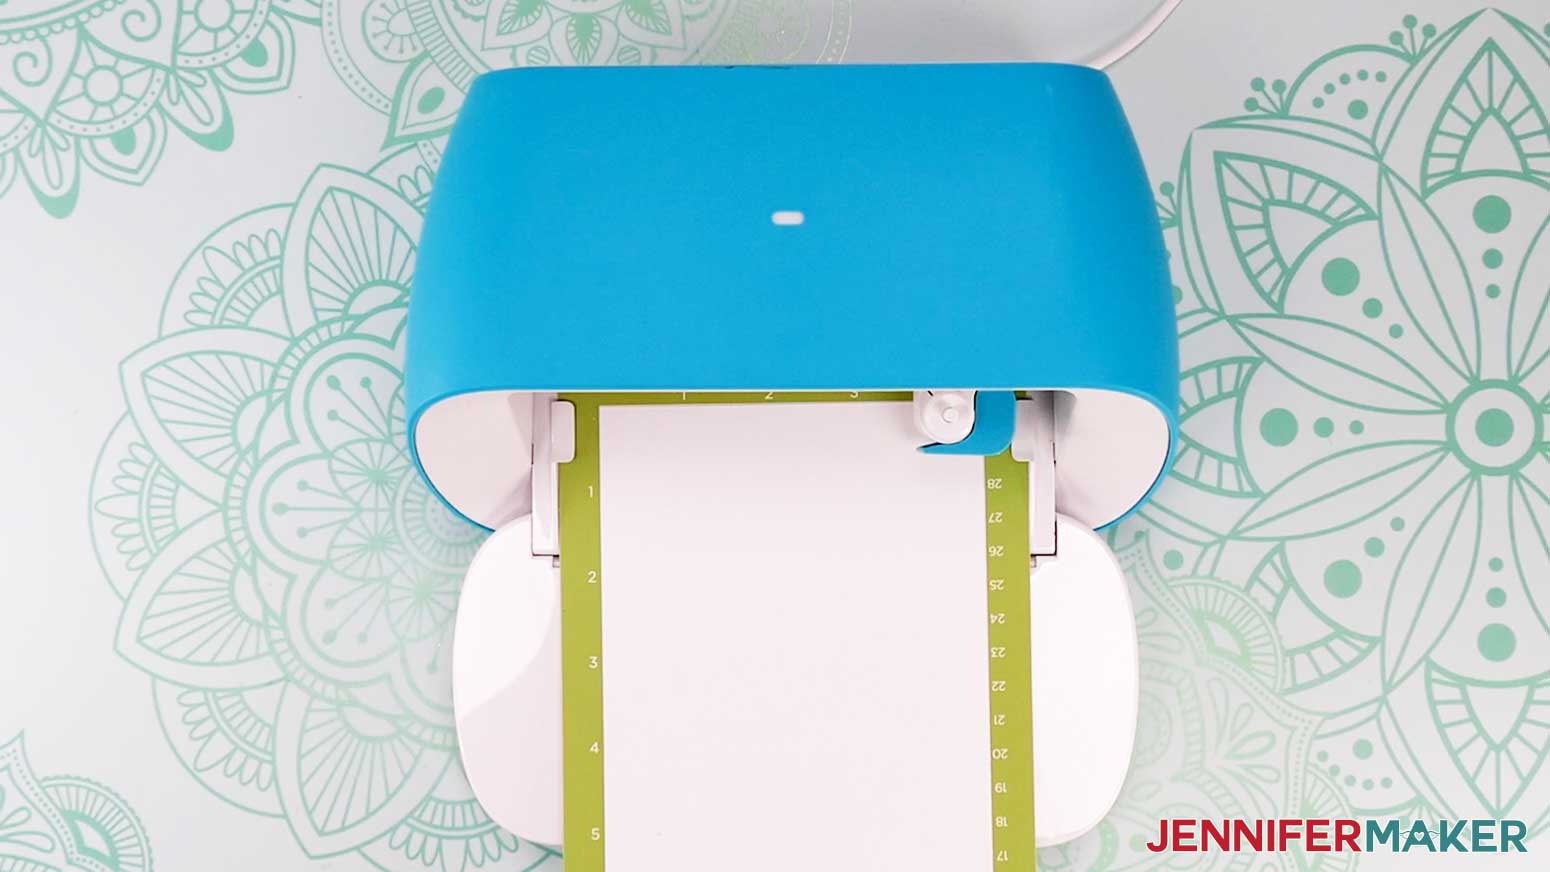
Click the “Go” button to begin cutting.
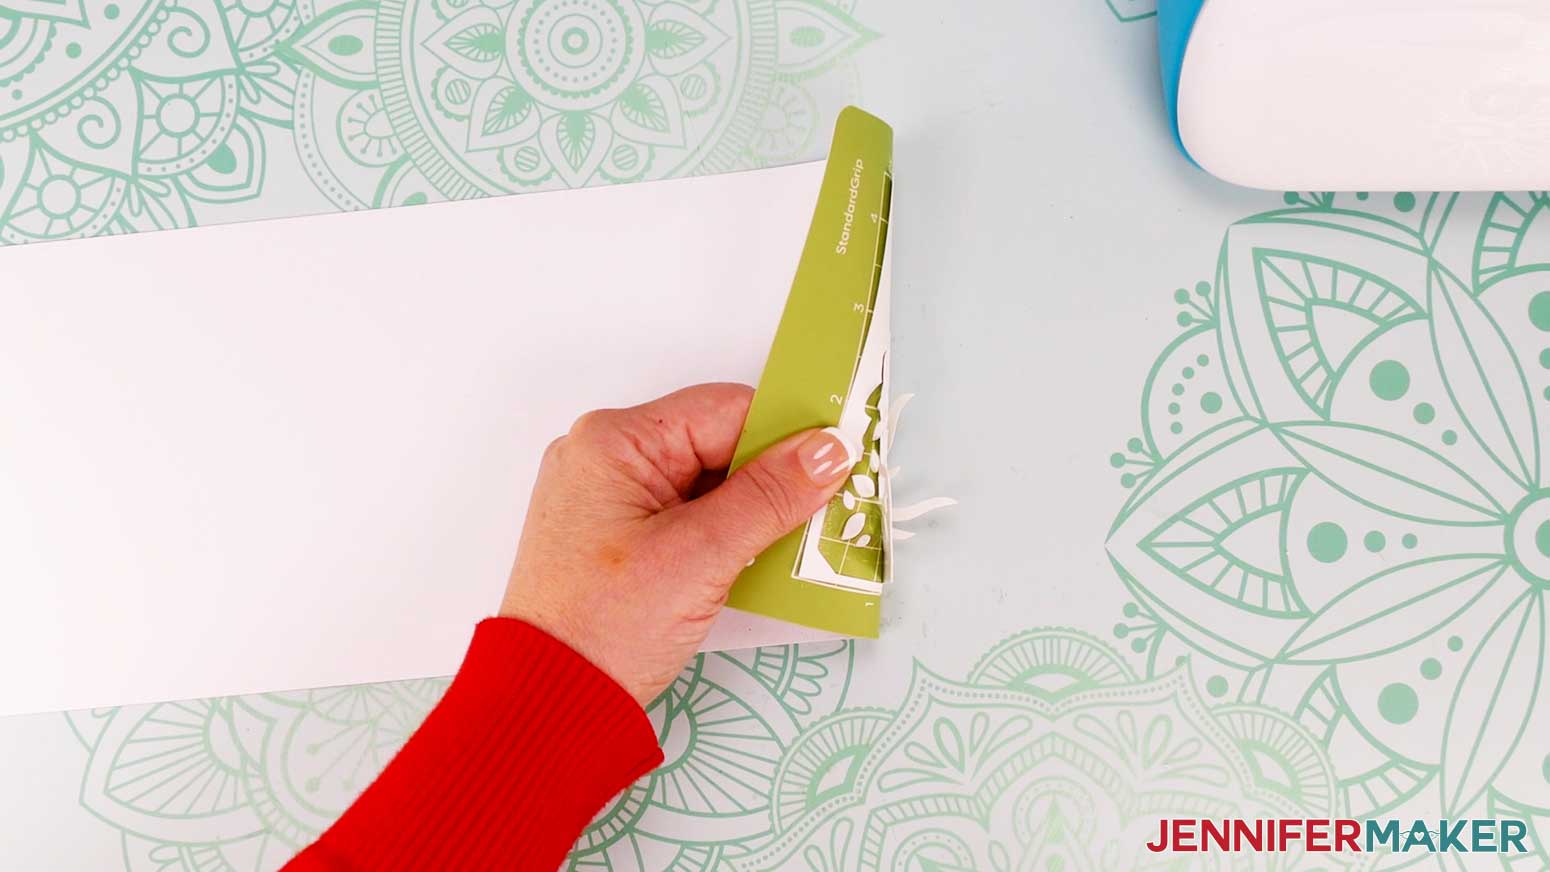
When it has finished cutting, click “Unload” to unload the mat.

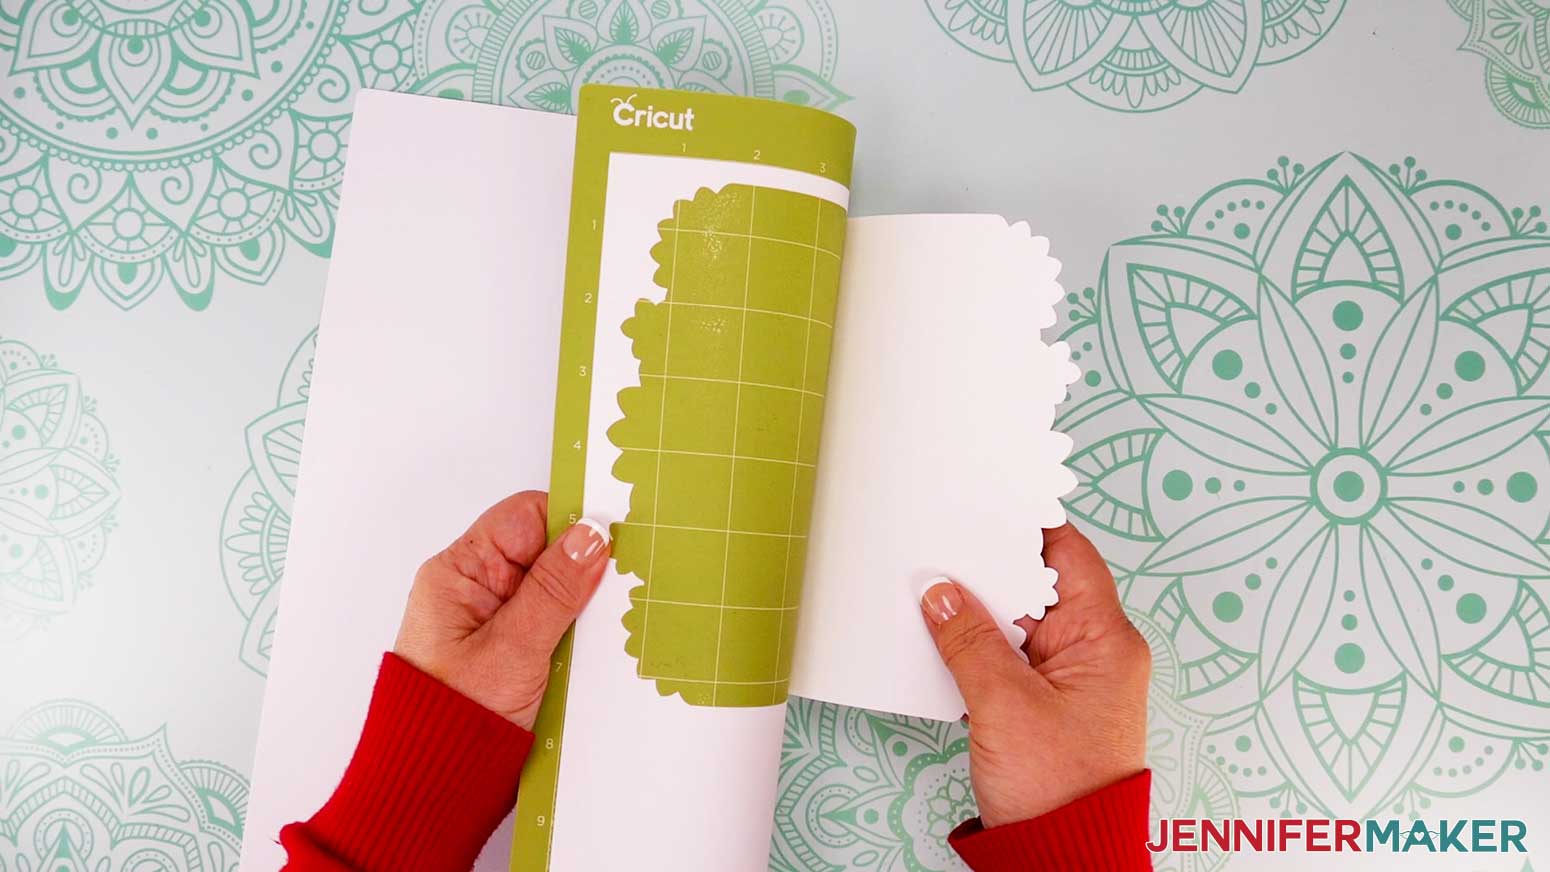
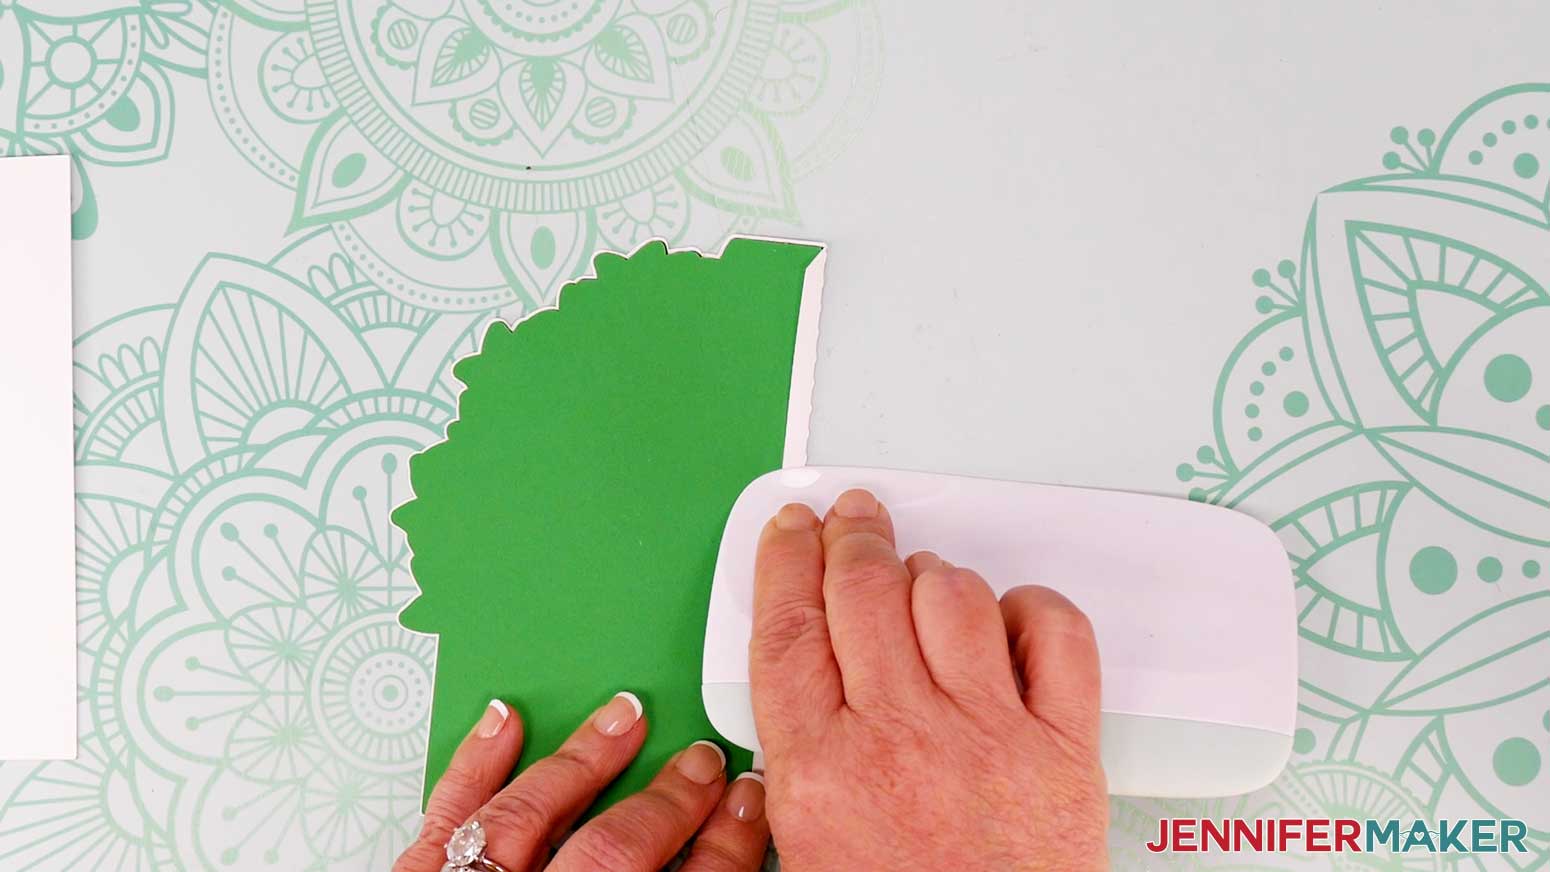
Flip the mat over onto your work surface, and roll it back to release the cardstock.
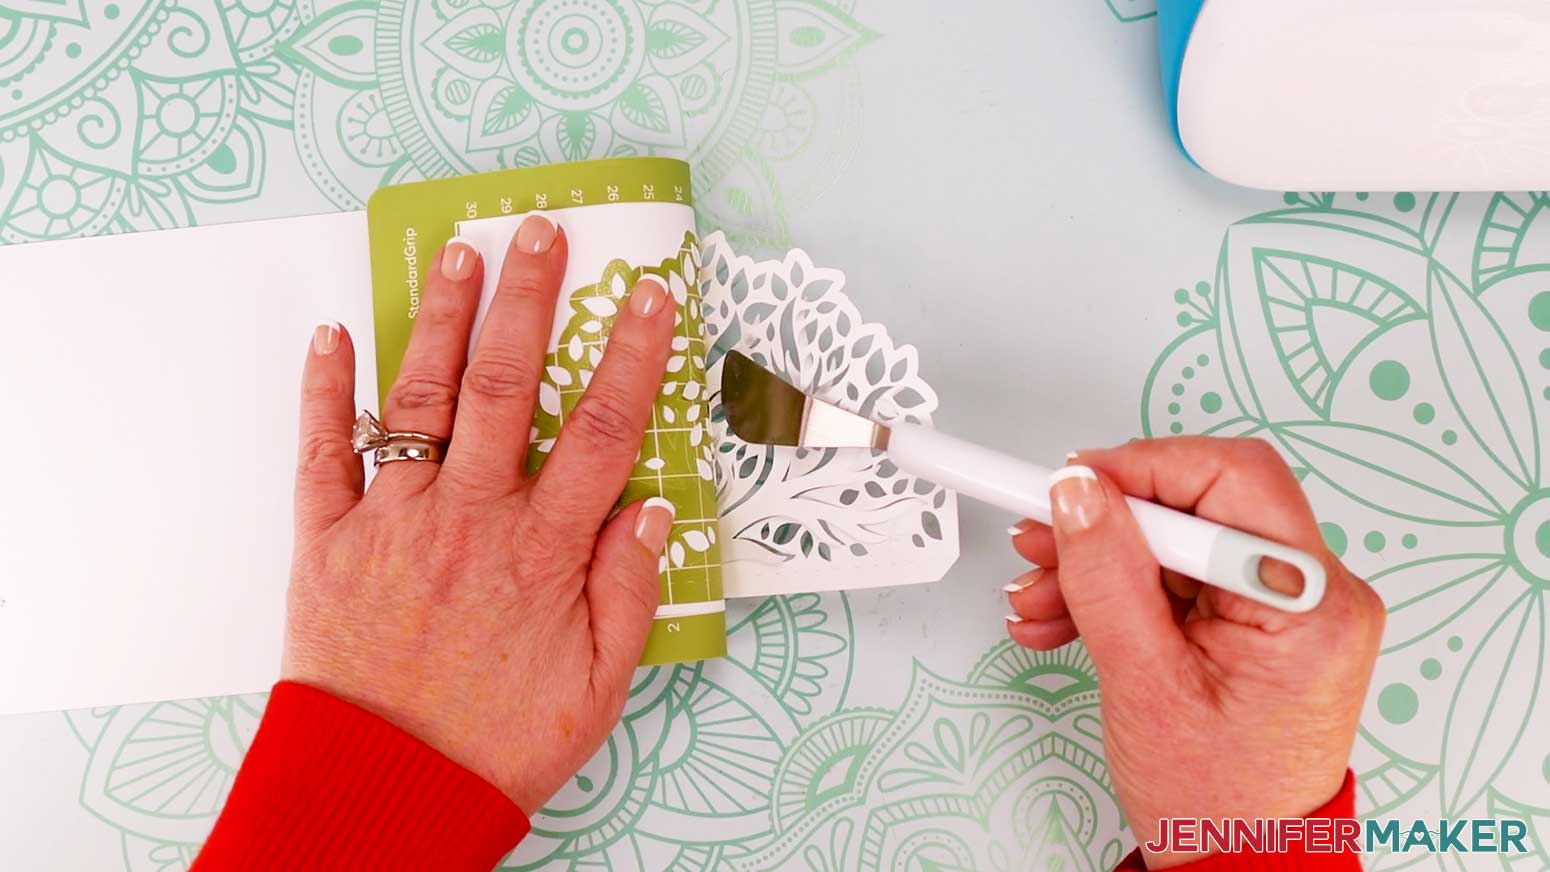
TIP: Use a spatula to carefully remove any intricate parts and a weeding tool to pop out any small pieces. If you have trouble with any of your cuts, check out my Cricut Tips & Tricks for Cleaner Cuts.
I’ll demonstrate with a Joy-size Tree card design, but these instructions are similar for the other two Joy-size designs.
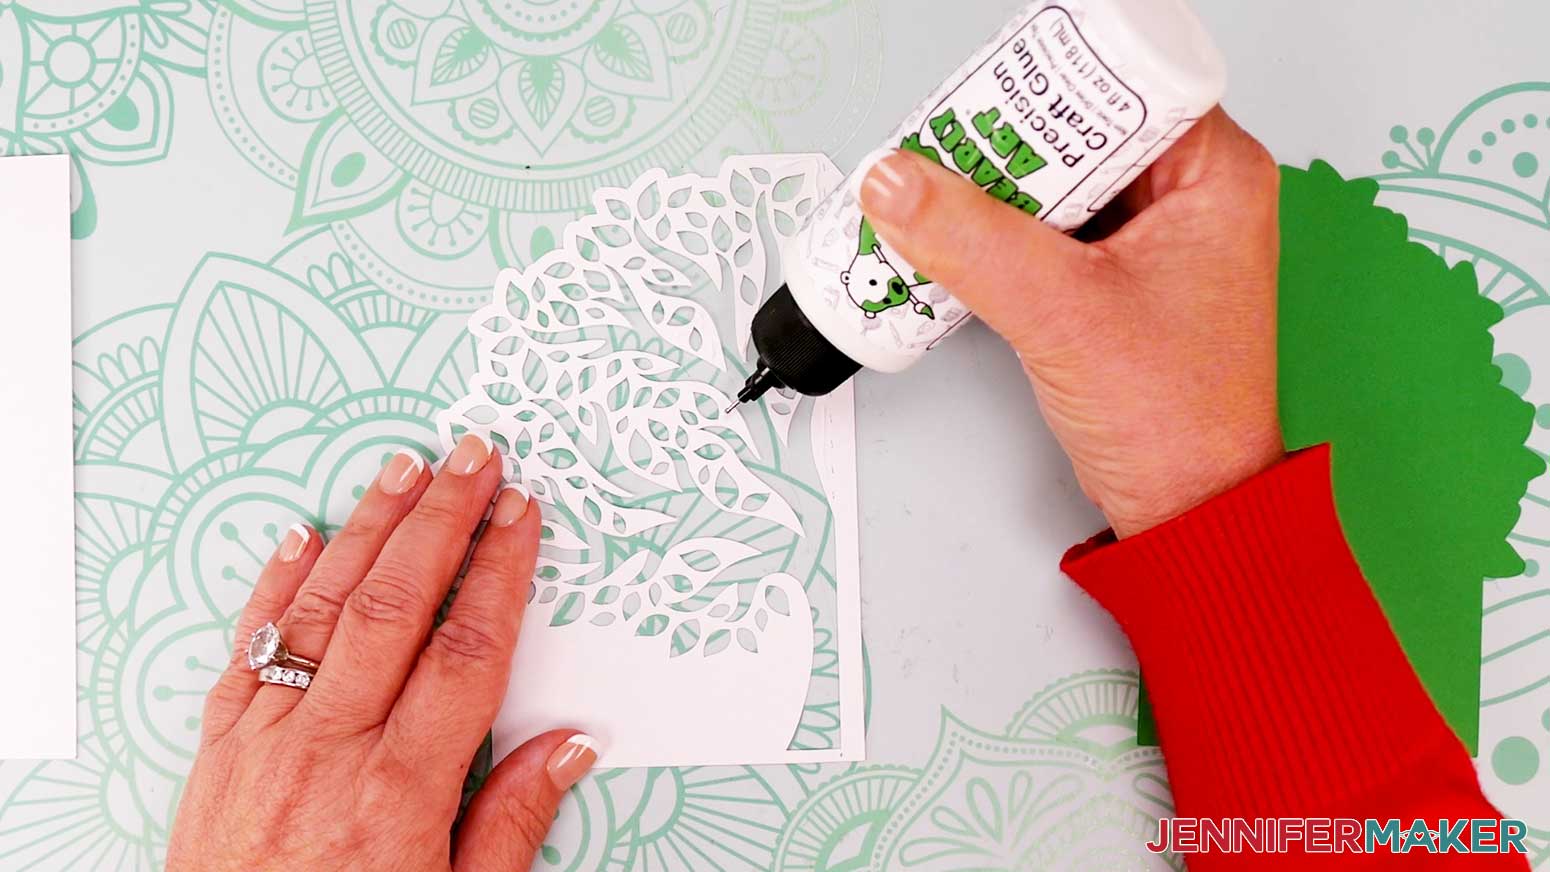
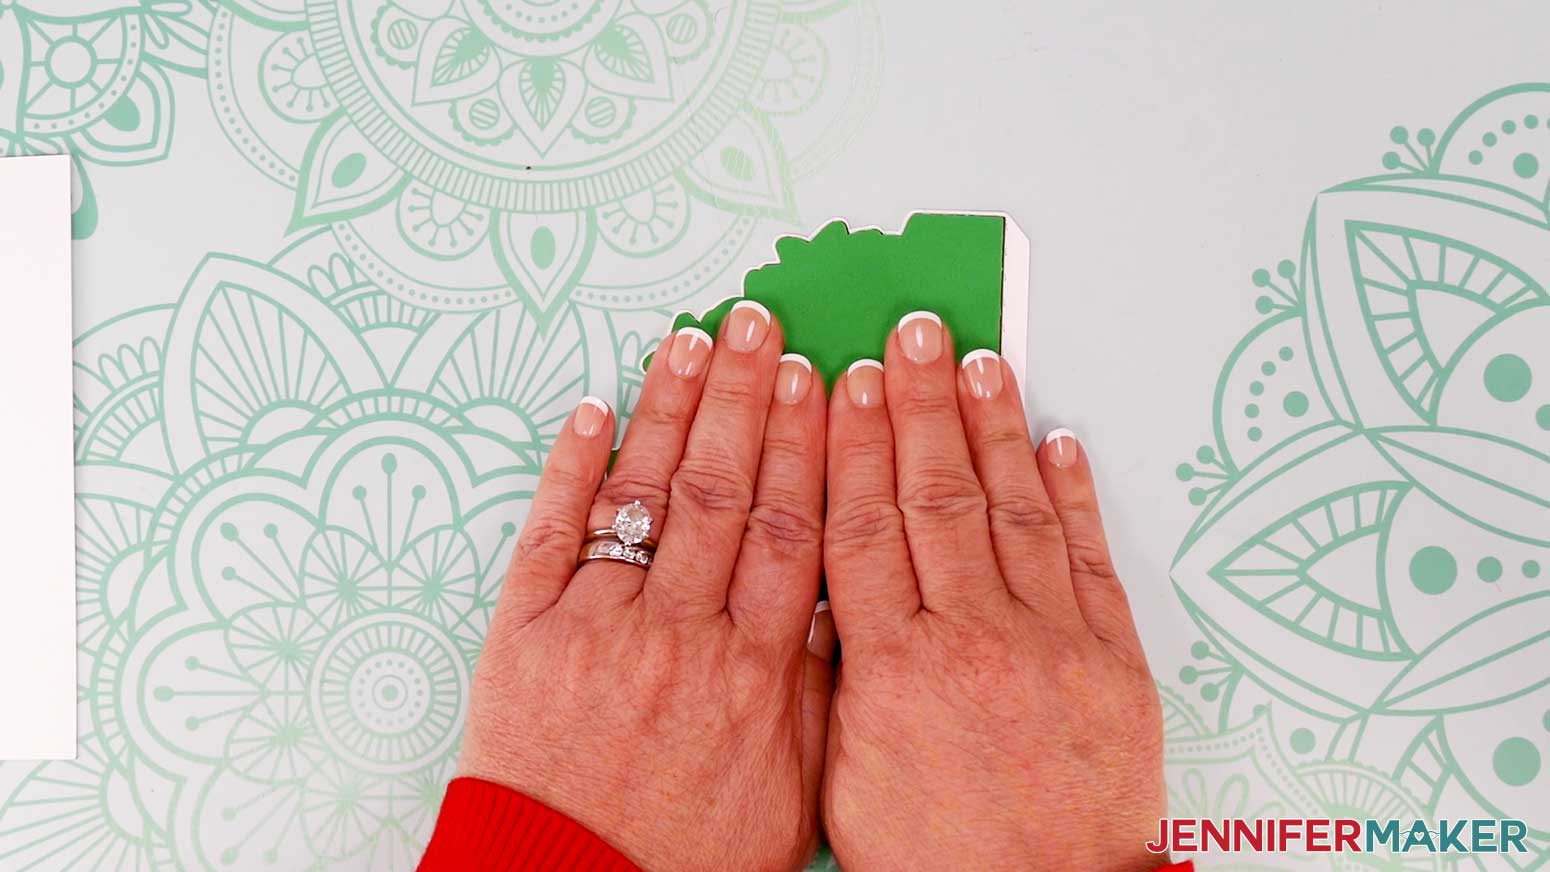
Grab the liner piece with leaf cutouts, and hold it over the glued base piece. Line up the edges and cutouts.
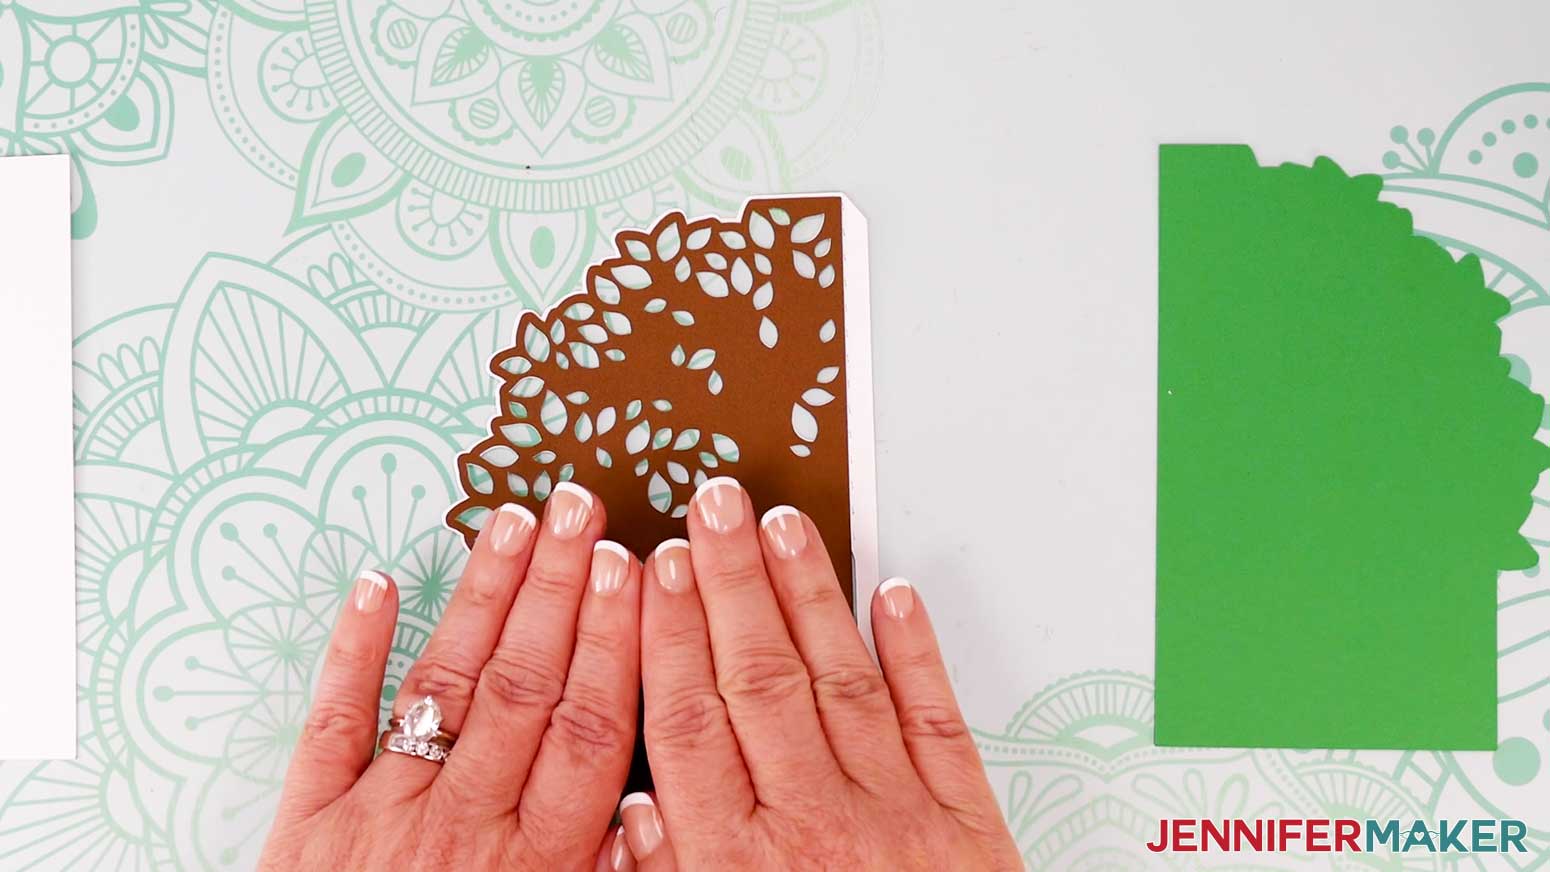
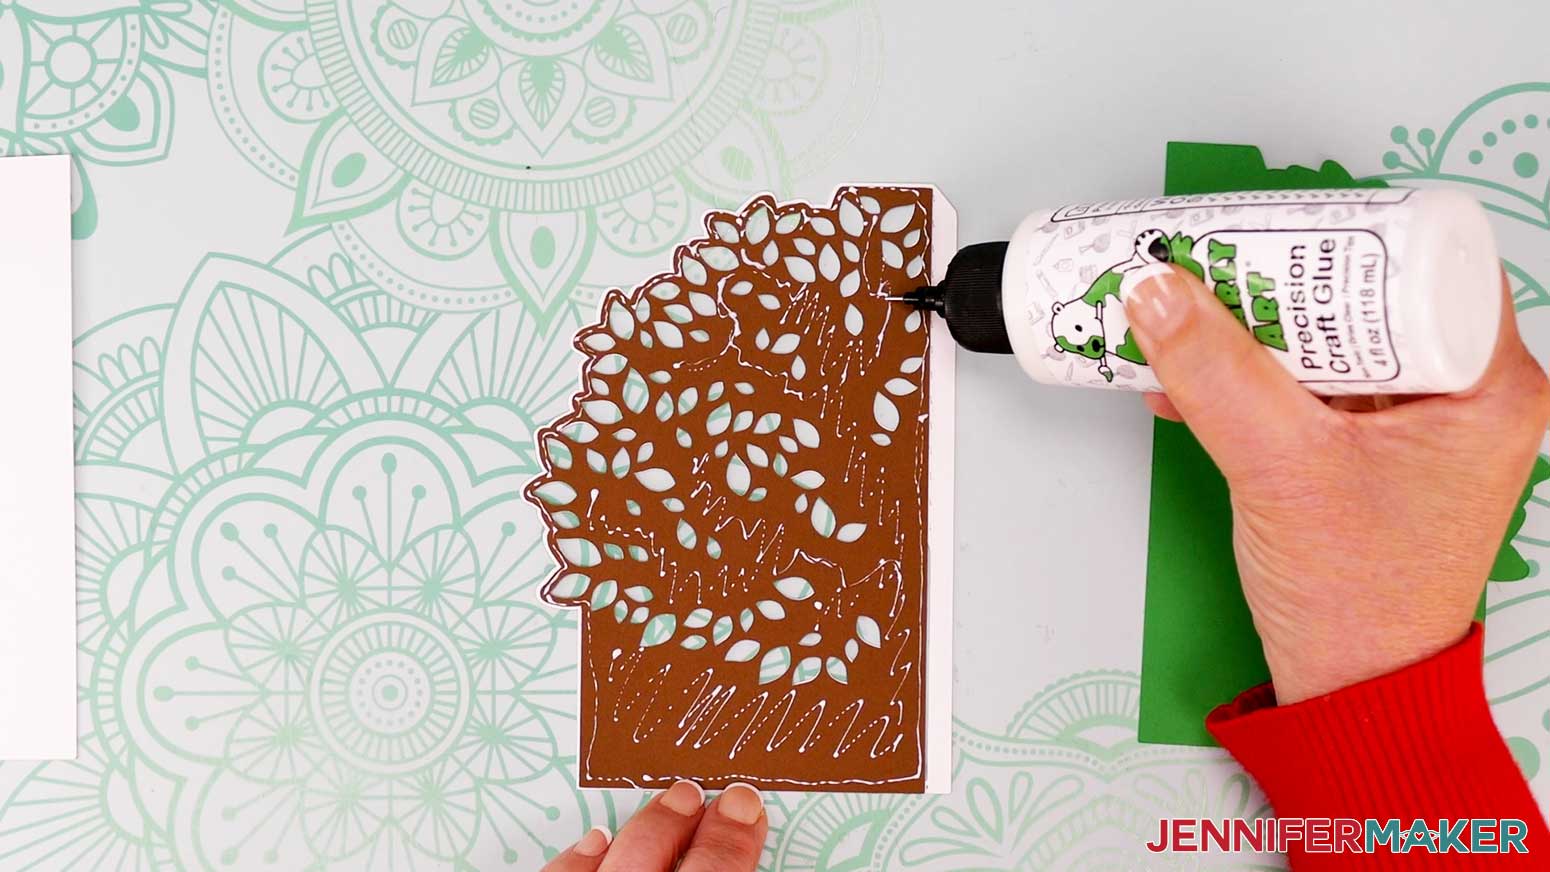
Grab the solid liner piece, and hold it over the other two assembled pieces. Line up the edges and cutouts.
Apply glue to the outside of the tab.
Press the glued tab down onto the back base piece.
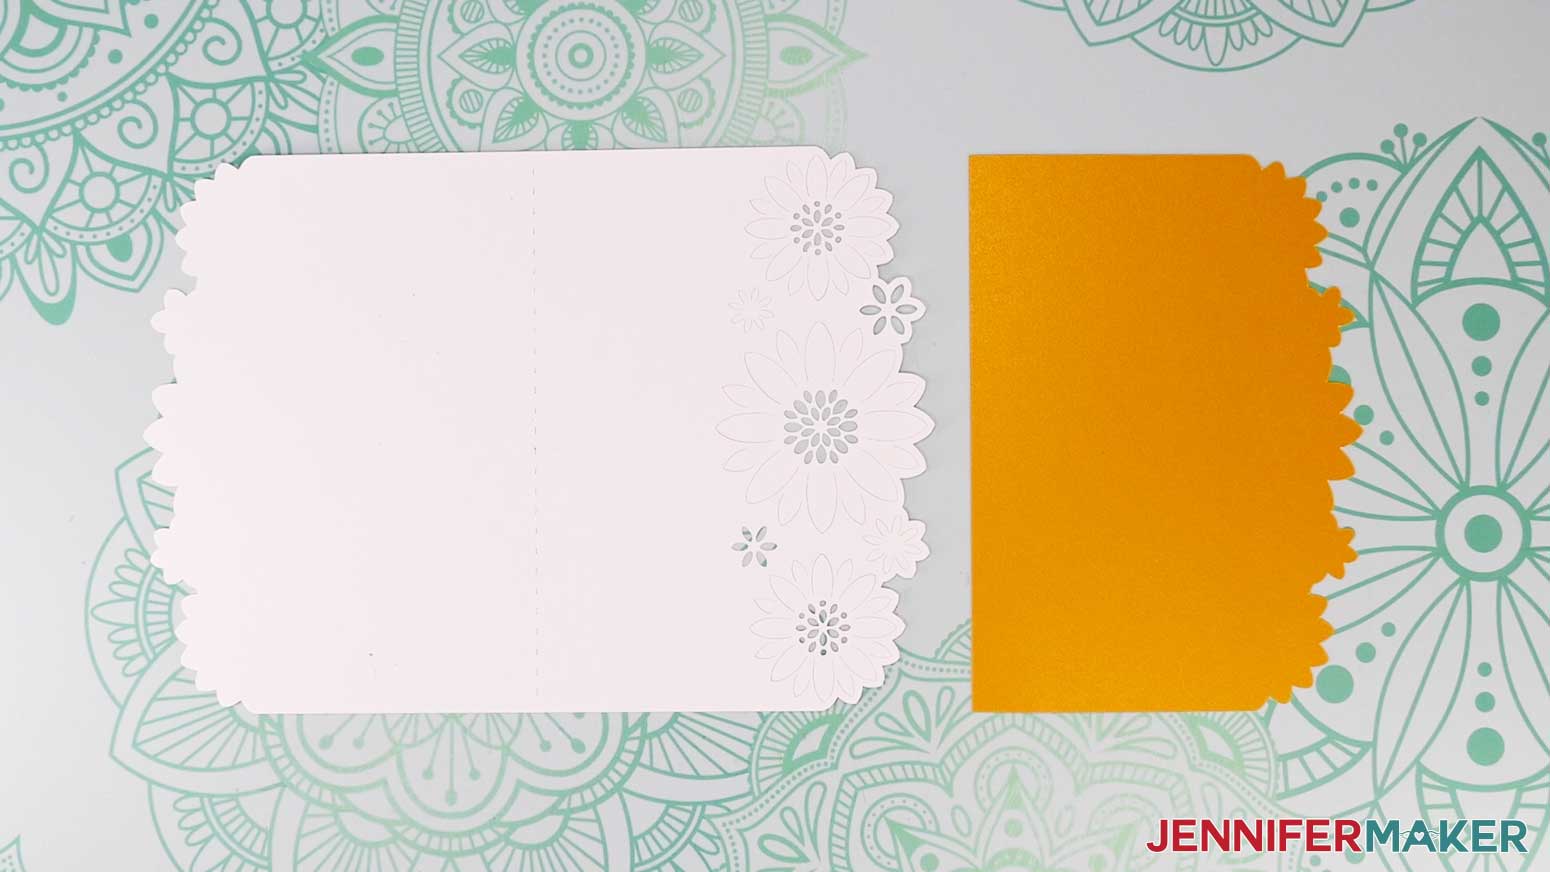
Here are what my finished shaped edge cards look like!
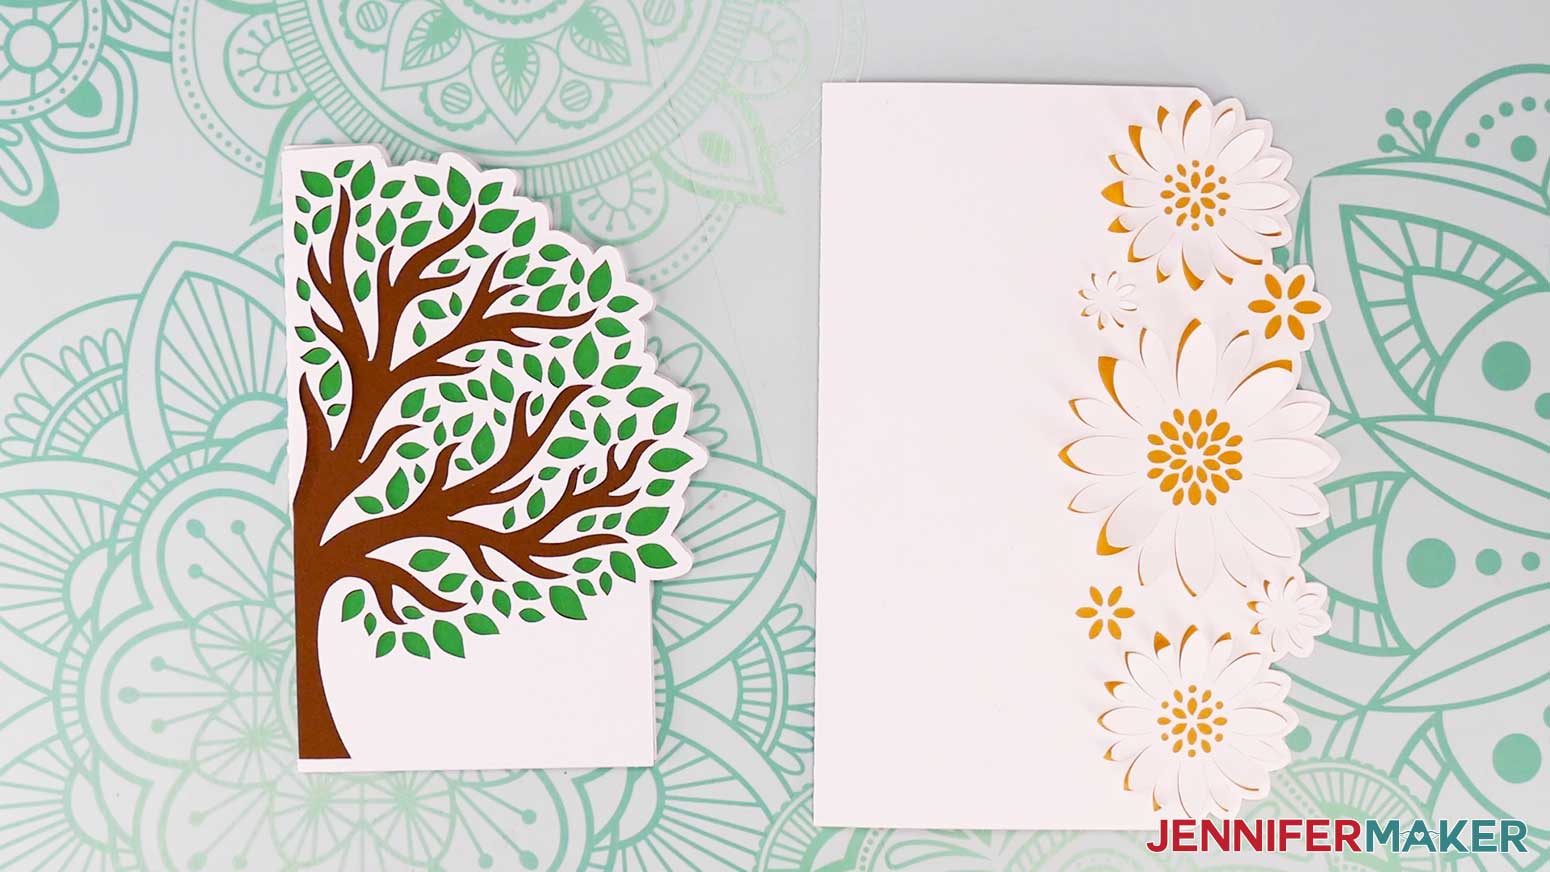 assembled and folded on a work surface" width="1550" height="872" />
Prepare, cut, and assemble your own envelope, then mail or gift it to someone special!
Be sure to make the right sized envelope for your card! The larger 5” x 7” card will best fit into a size A7 envelope, and the 4” x 6” Joy-sized card works best with a size A6 envelope.
Finished Sizes:
Full-size Cards: 5" x 7" when folded
Joy-size Cards: 4" x 6" when folded
